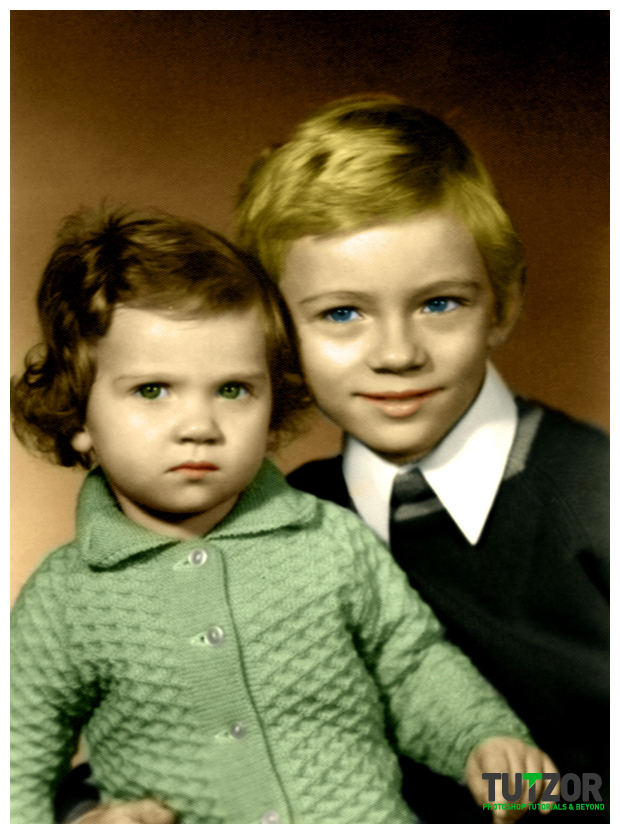
Coloring an old, black and white photo
19
Aug'10
 Cpotorac
Member since:
Aug 2010
Step
01
 Cpotorac
Member since:
Aug 2010
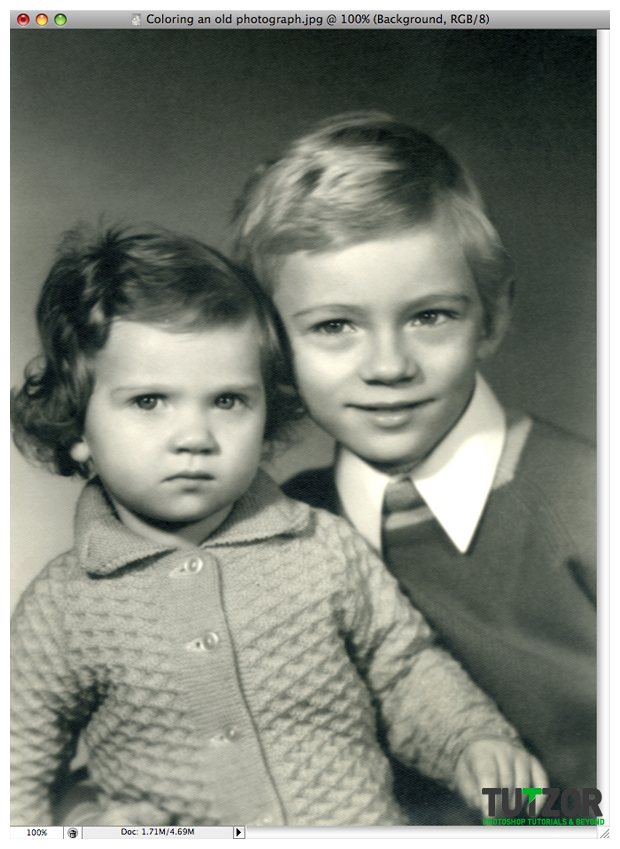
First you need your image. Here is mine: http://www.sxc.hu/photo/254796

Step
02
 Cpotorac
Member since:
Aug 2010
You start by organizing and thinking what colors to use. Before you start coloring you need to set your brush to a 0% Hardness.
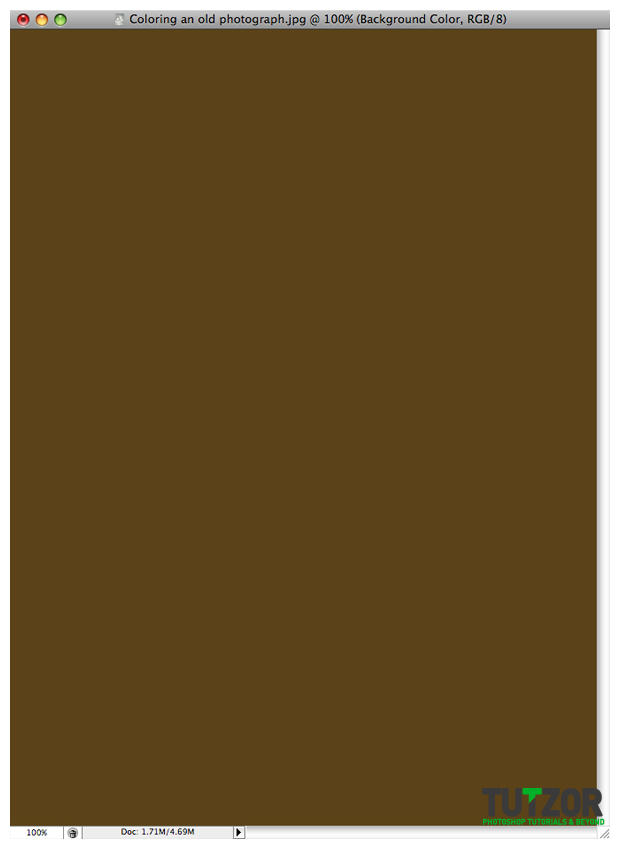
Now I will start with the background. Select the color (I used #5b4219) and create a new layer on top of the original photo layer. Name it Background Color and fill the layer with the color you selected.

Step
03
 Cpotorac
Member since:
Aug 2010
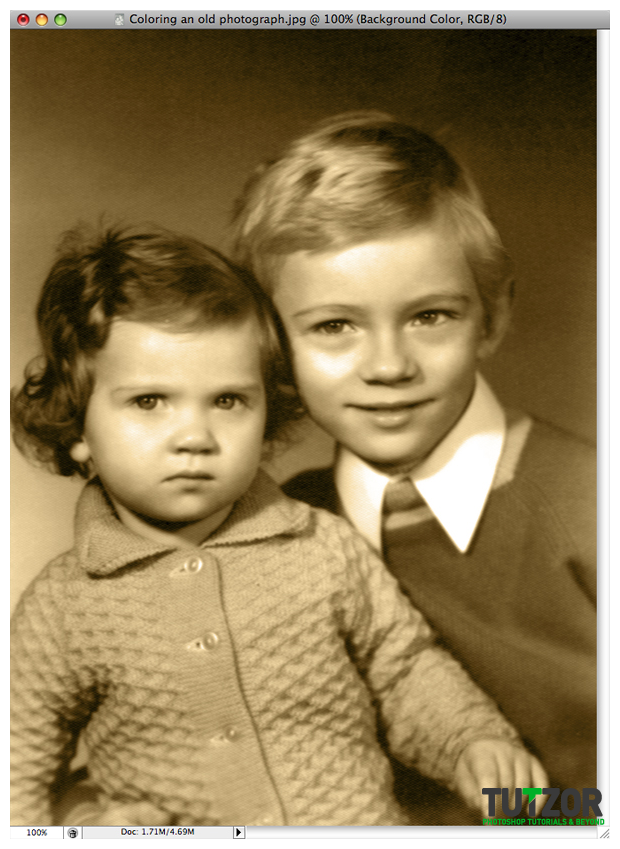
Now set the Background Color Layer Mode to Color

Step
04
 Cpotorac
Member since:
Aug 2010
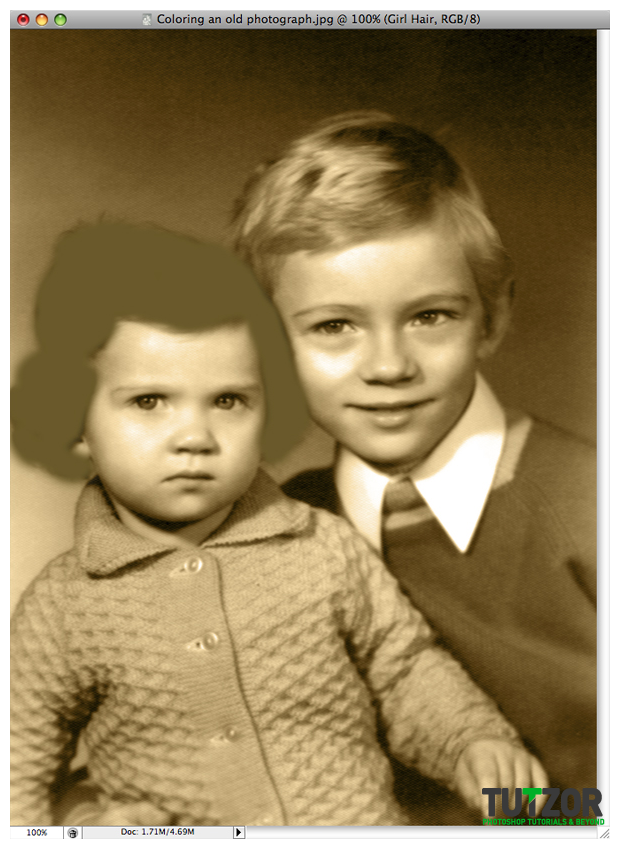
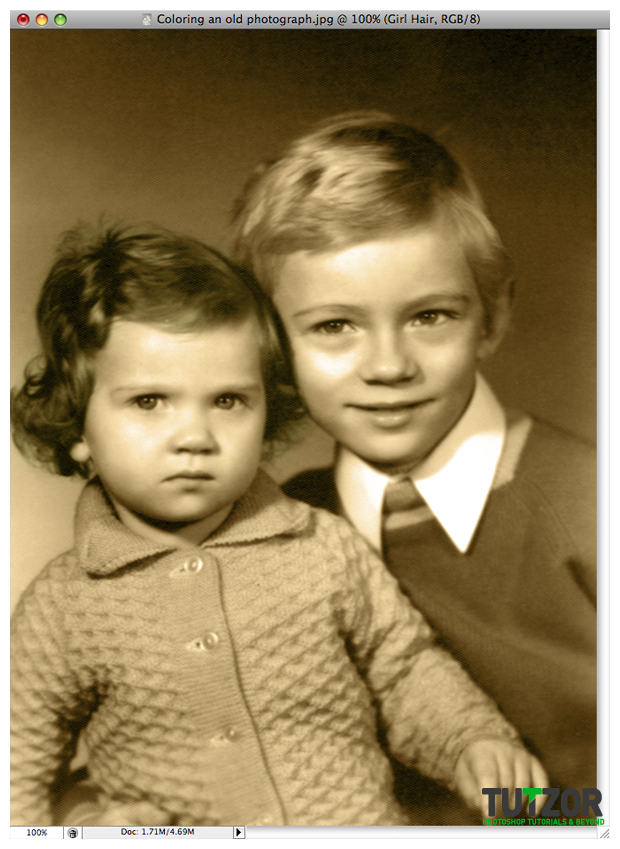
Now I will first start with the little girl. And that is her hair. Select your color, make a new layer and name it Girl Hair. Now all you need to do is to brush over her hair.
Don’t worry if you get the color over her face because you will come back to that later.

Step
05
 Cpotorac
Member since:
Aug 2010
Set the hair layer to Color.

Step
06
 Cpotorac
Member since:
Aug 2010
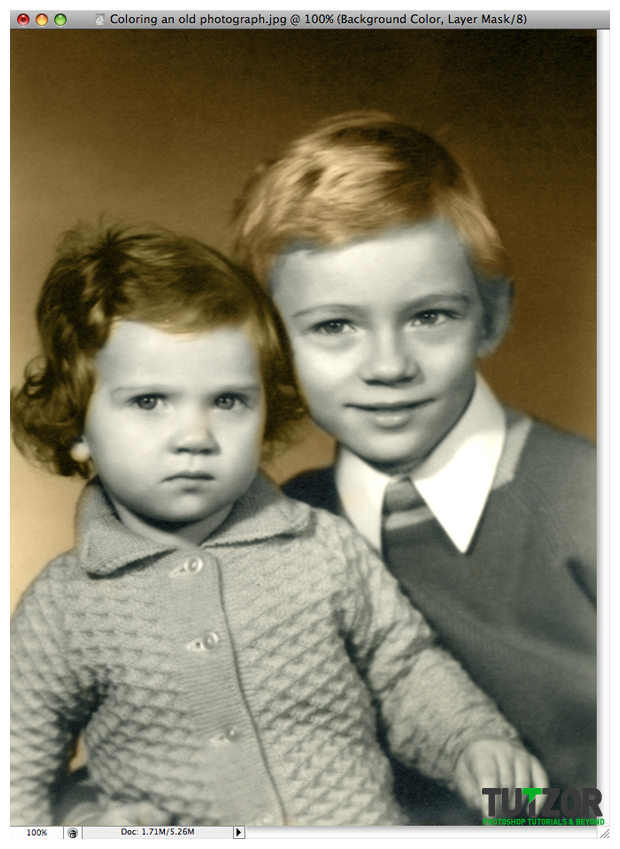
Now work on her face. But before that, you need to mask the Background Color layer that is over the kids.

Step
07
 Cpotorac
Member since:
Aug 2010
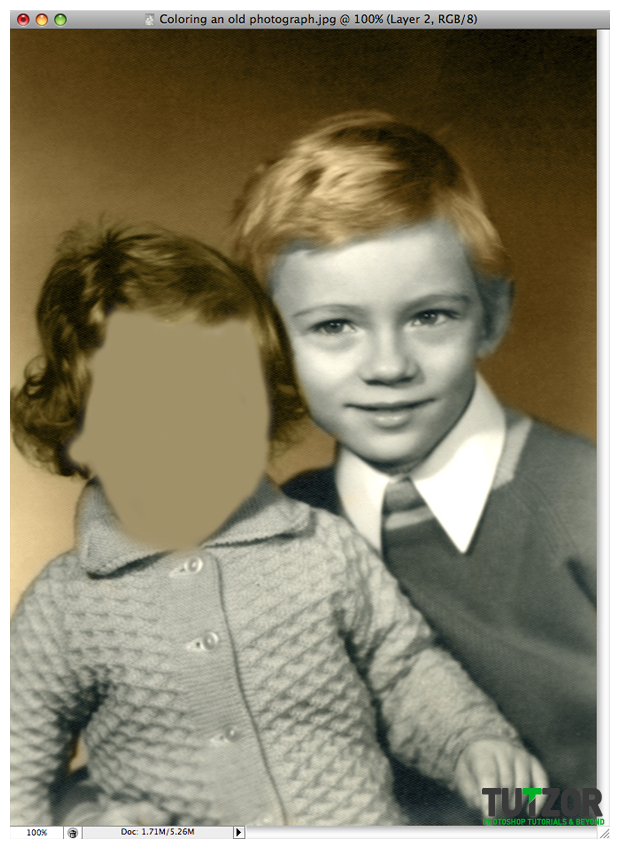
Do the same as before. Make a new layer and name it Girl Face.
Select you color and start painting.

Step
08
 Cpotorac
Member since:
Aug 2010
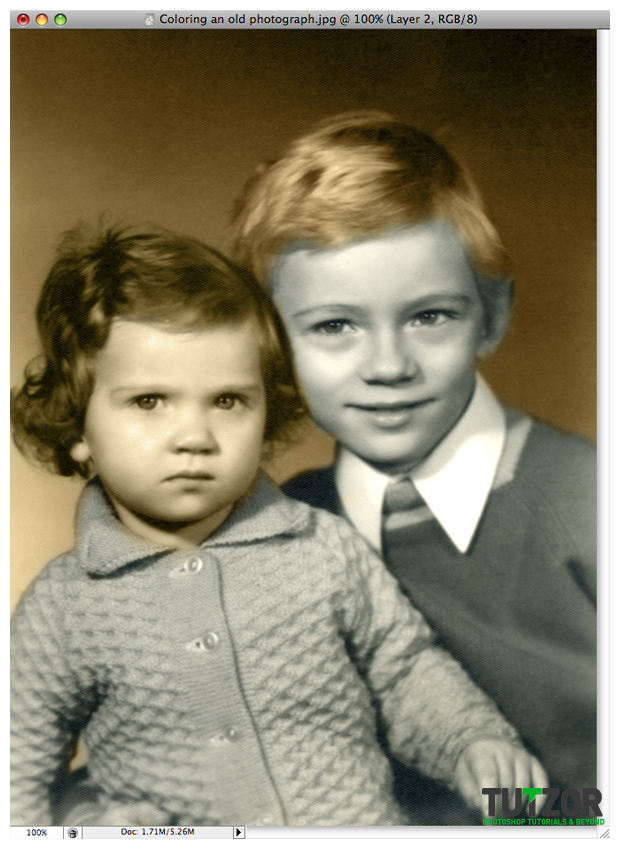
Now set the layer to Color.

Step
09
 Cpotorac
Member since:
Aug 2010
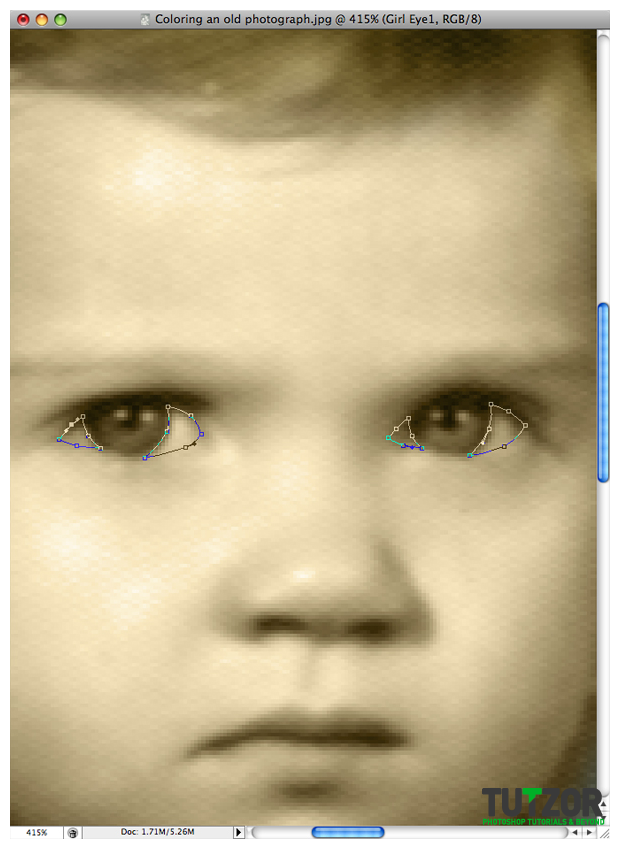
Make a new layer and name it Girl Eyes1. This will be the layer where we will show how to make the white part of the eye.
Using the Pen Tool make a path and cover the white part of the eyes.

Step
10
 Cpotorac
Member since:
Aug 2010
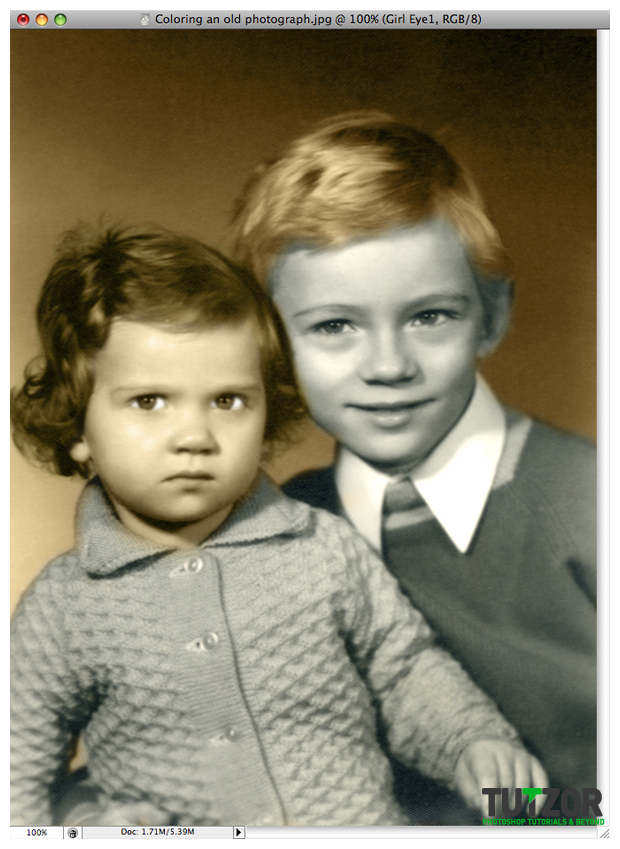
Now press Ctrl + Enter (Command + Return on a Mac) to make a selection. Go to Select – Modify – Feather. Select a radius of 2 and press Enter. Then fill the selection with white.

Step
11
 Cpotorac
Member since:
Aug 2010
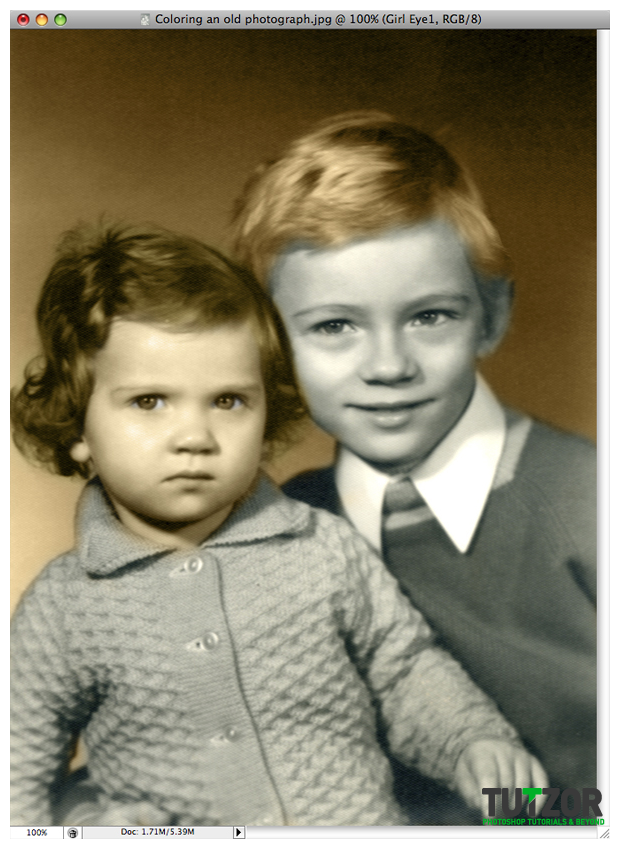
Set the layer to Color.

Step
12
 Cpotorac
Member since:
Aug 2010
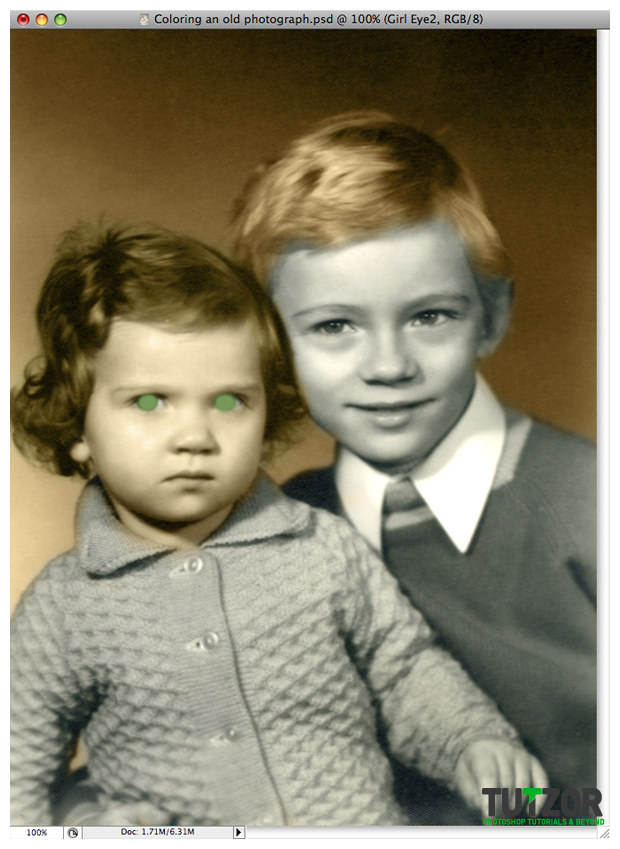
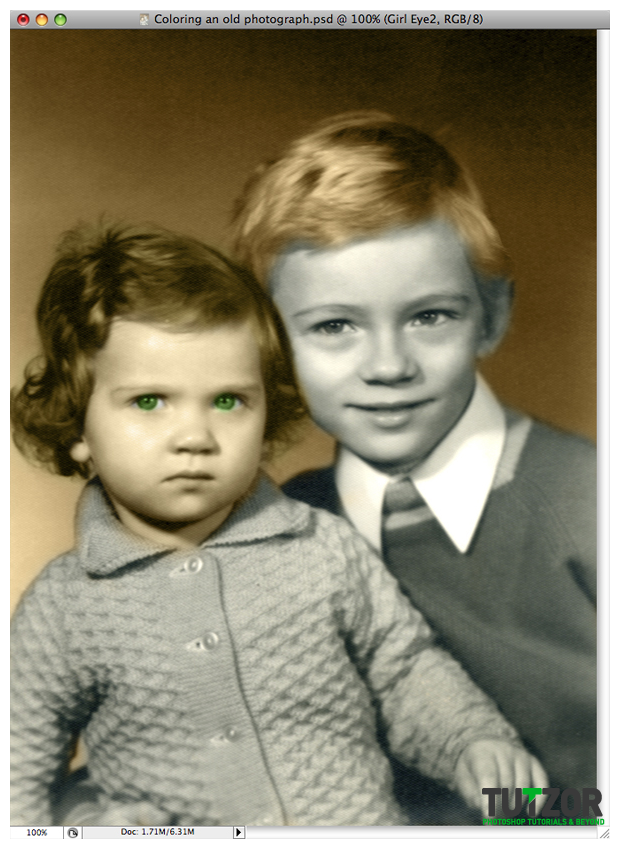
Next make another new layer and name it Girl Eyes2. Select a color for the eyes and than paint over her eyes.

Step
13
 Cpotorac
Member since:
Aug 2010
Set the layer to Color.

Step
14
 Cpotorac
Member since:
Aug 2010
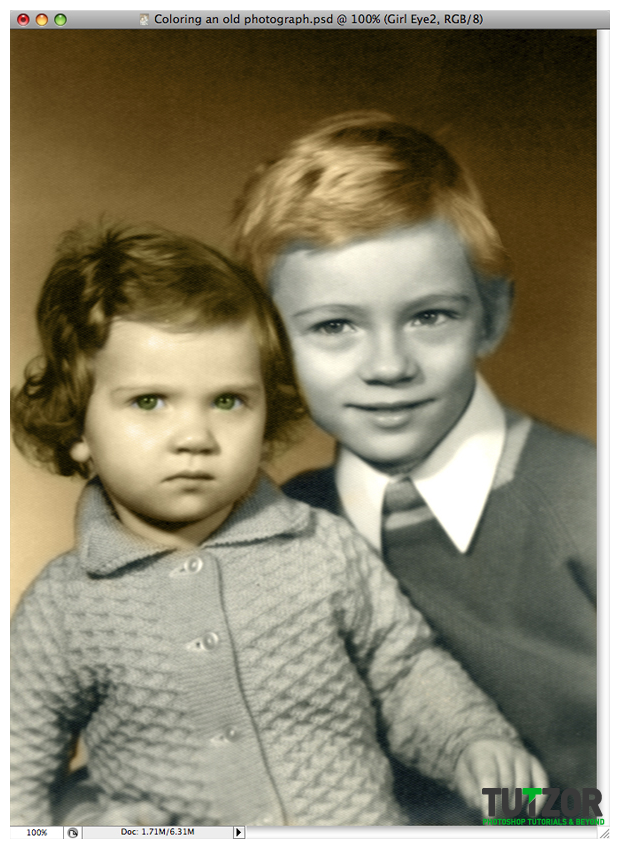
Lower the Opacity to 40% or so.

Step
15
 Cpotorac
Member since:
Aug 2010
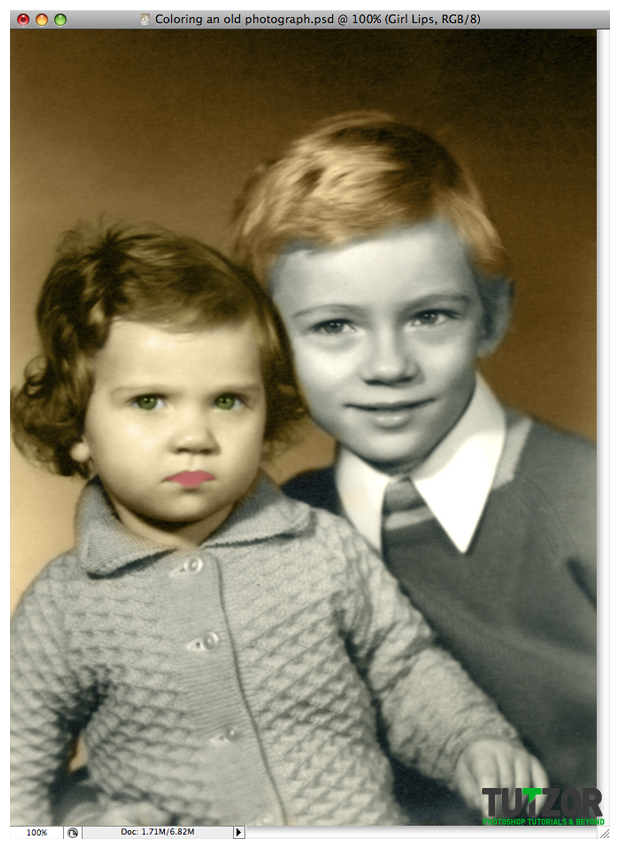
Make a new layer and name it Girl Lips. Select a red color and paint over the girl lips.

Step
16
 Cpotorac
Member since:
Aug 2010
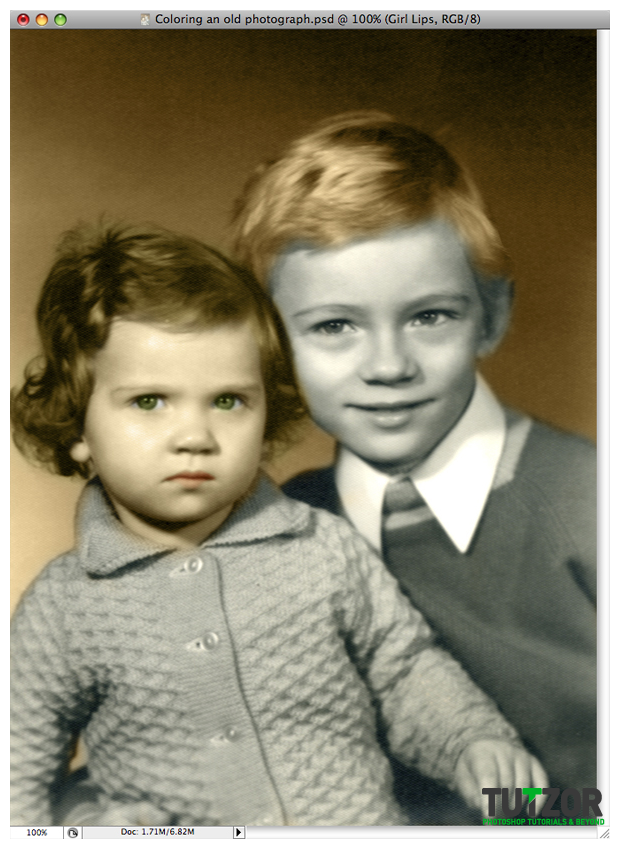
Set it to Soft Light this time.

Step
17
 Cpotorac
Member since:
Aug 2010
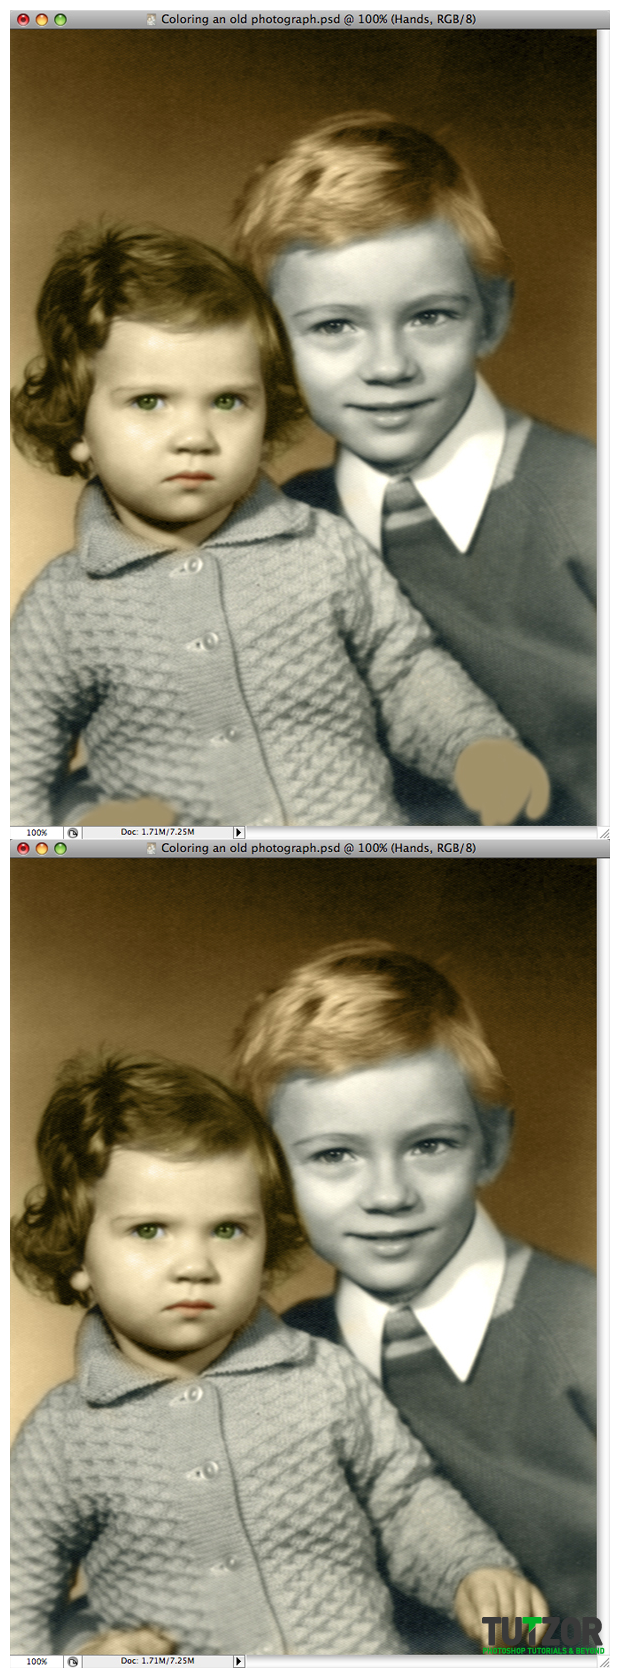
Next make her hand and the boy’s hand also. Use the same color as you used for the face. Make a new layer and name it Hands. Also when you are done set it to Color.

Step
18
 Cpotorac
Member since:
Aug 2010
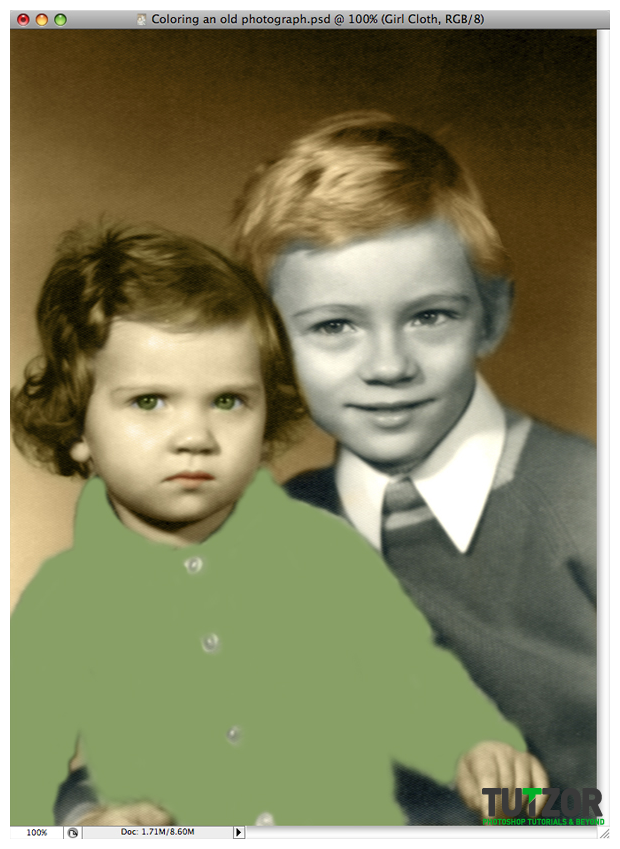
Next are the sweater and the buttons. Actually only the sweater will be changed because the buttons will remain as they are. Make a new layer and name it Girl Sweater. Select your color and start painting.

Step
19
 Cpotorac
Member since:
Aug 2010
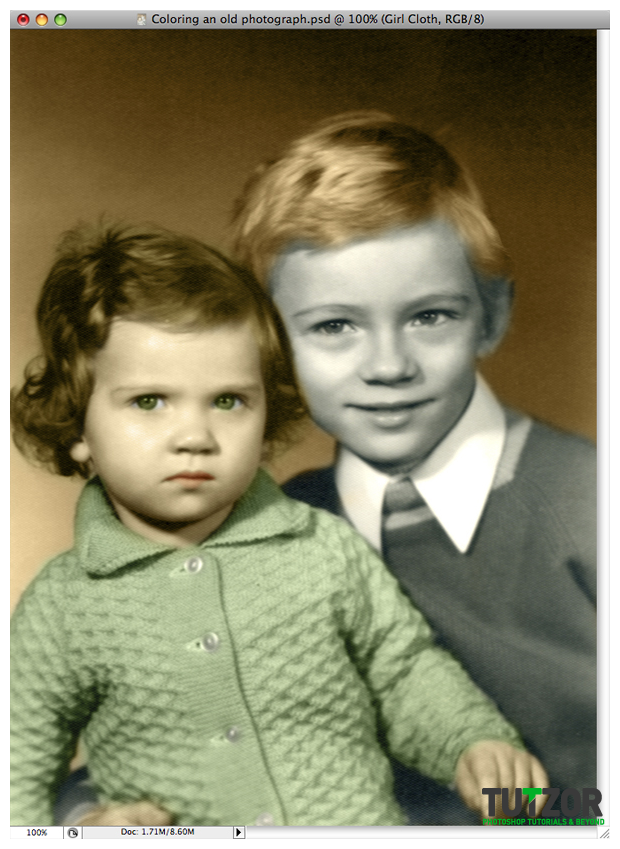
Set the layer to Color and maybe nudge the Opacity a little.

Step
20
 Cpotorac
Member since:
Aug 2010
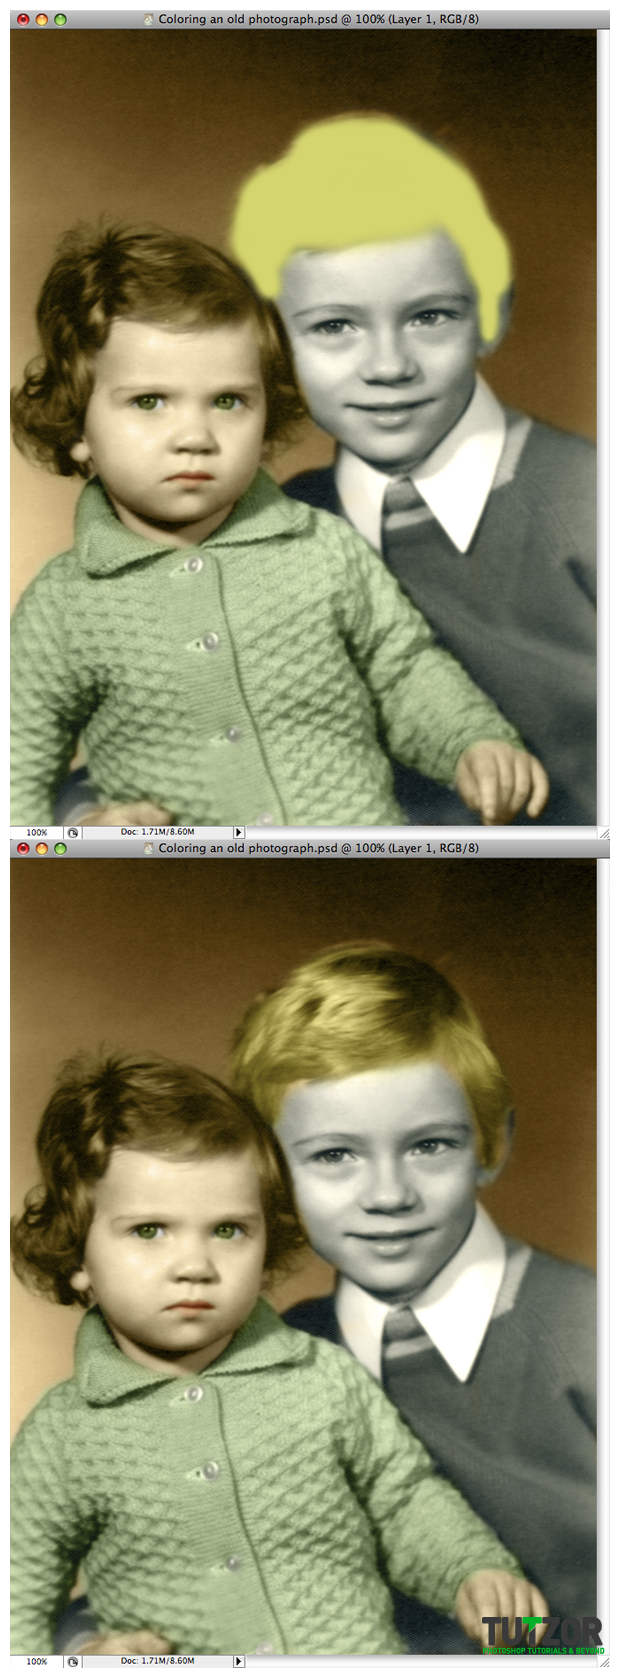
Next is the boy. Same as we did with the girl, start with the hair.

Step
21
 Cpotorac
Member since:
Aug 2010
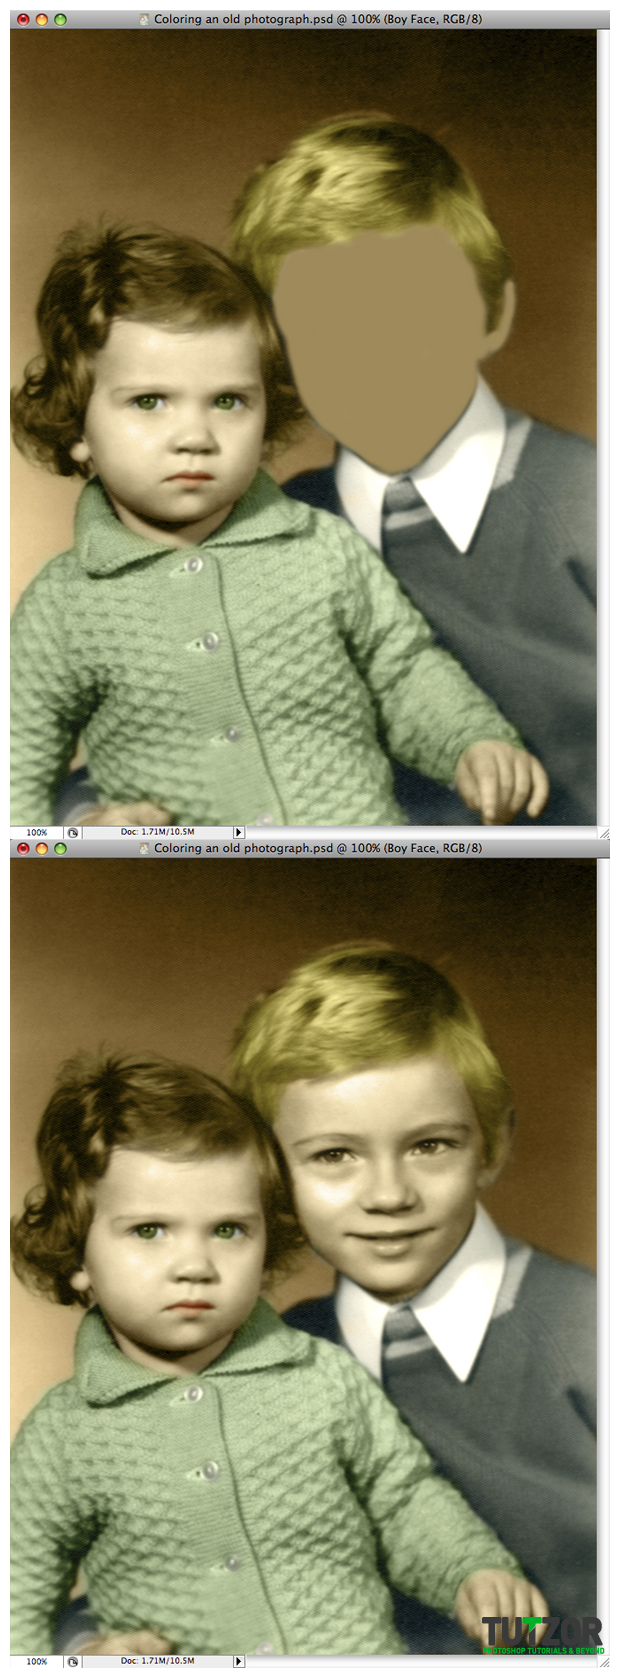
Make a new layer and name it Boy Face. Select the same color as you used for the girl face or maybe something close to that and start painting.

Step
22
 Cpotorac
Member since:
Aug 2010
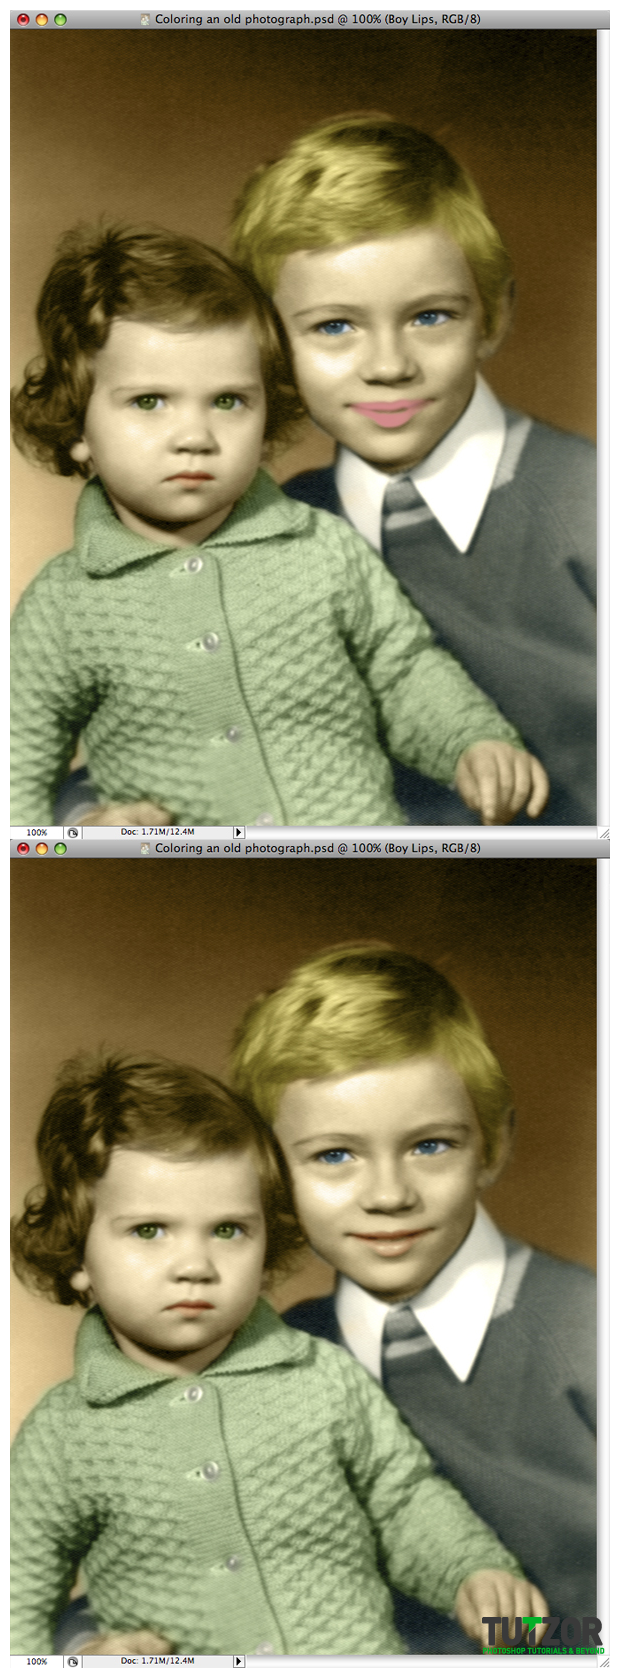
Now make the eyes just as you made the girl’s eyes but this time use a blue for the color of the eyes.


Step
23
 Cpotorac
Member since:
Aug 2010
Make a new layer and name it Boy Lips. Same as you have done with the girl. Again you can use a different color.

Step
24
 Cpotorac
Member since:
Aug 2010
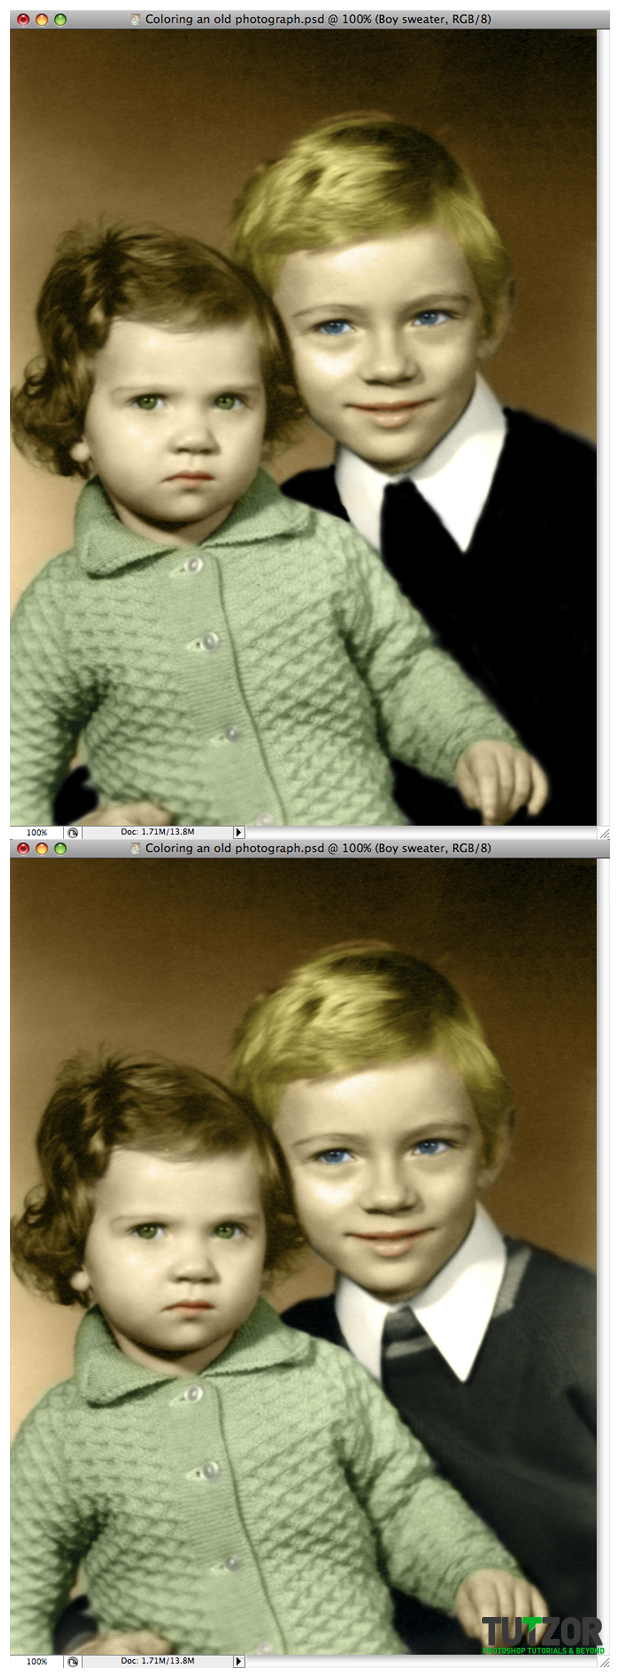
And the finally make the Boy Sweater layer. Chose the color you want and paint it. Leave the skirt white. This time set it to Soft Light.

Step
25
 Cpotorac
Member since:
Aug 2010
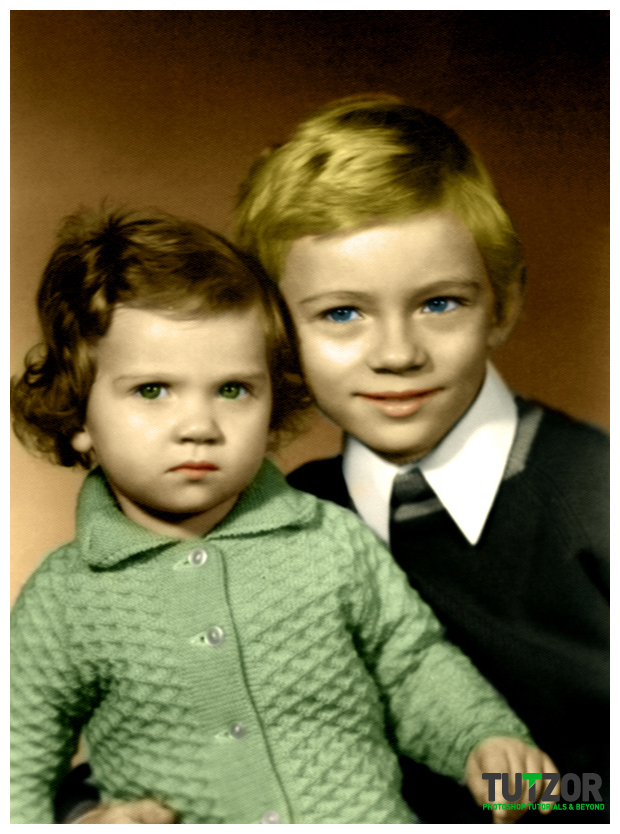
Last add some Levels to the image and we are done.






Comments
Muy instructivo
Gracias intiresnuyu iformatsiyu
Re: Coloring an old, black and white photo
Awesome and good work . i have read your idea with practice
Re: Coloring an old, black and white photo
In Step 6 how to mask layers. I can't understand it. Please explain. Thanks...
Re: Coloring an old, black and white photo
To add color in old black & white photos of unforgettable moments is an interesting thing. You have used awesome techniques in this post. I also wanted to do such a work so thanks for sharing this helpful post.
Re: Coloring an old, black and white photo
I’ve just been trying to apply the similar effect on some of my photos that needed some ‘aging’ effects on them. Thanks for the tutorial, it was really helpful!