 cosmin
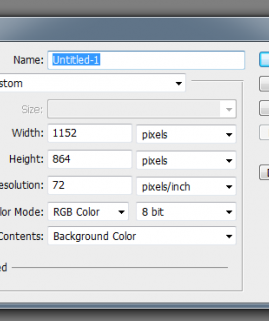
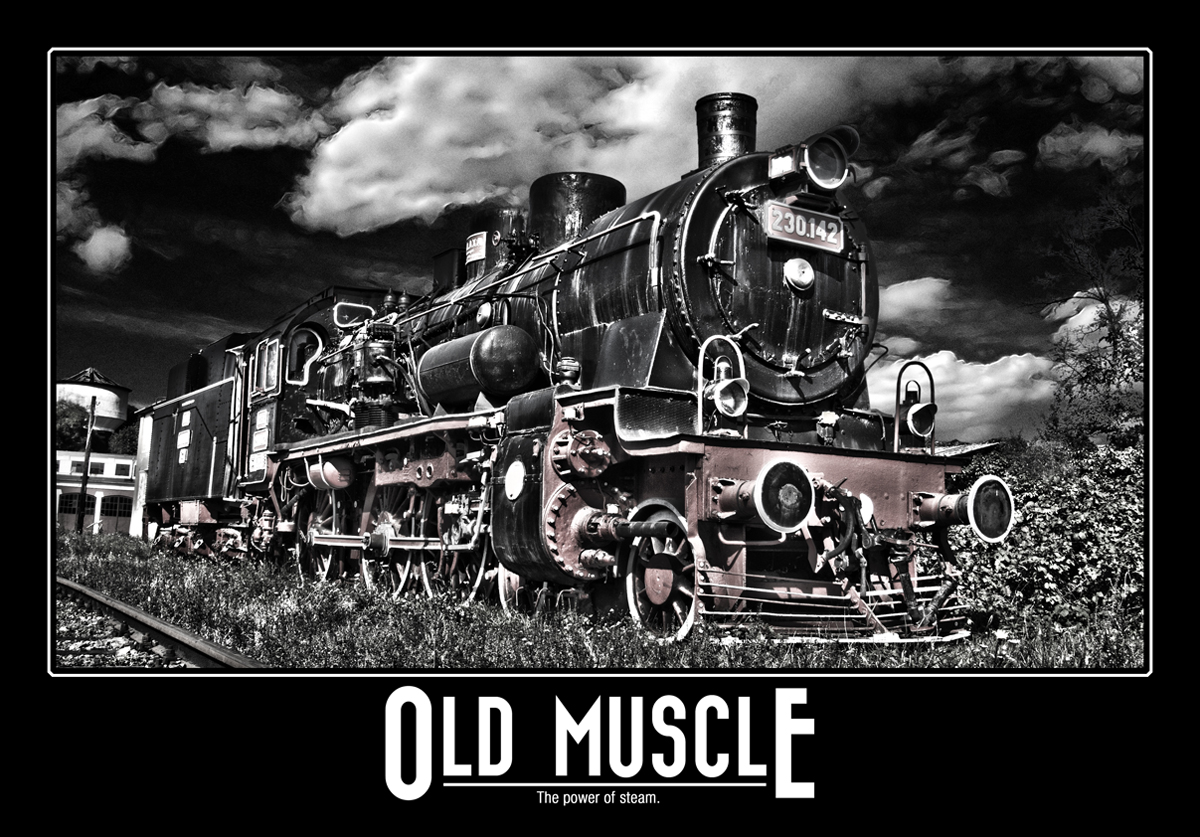
I'm going to show you all how to make a cool HDR (High Dynamic Range) photo from your own RAW images and then turn it into a inspirational poster.
You can use my RAW files or you can make your own (use a tripod).
Also download this:
 cosmin
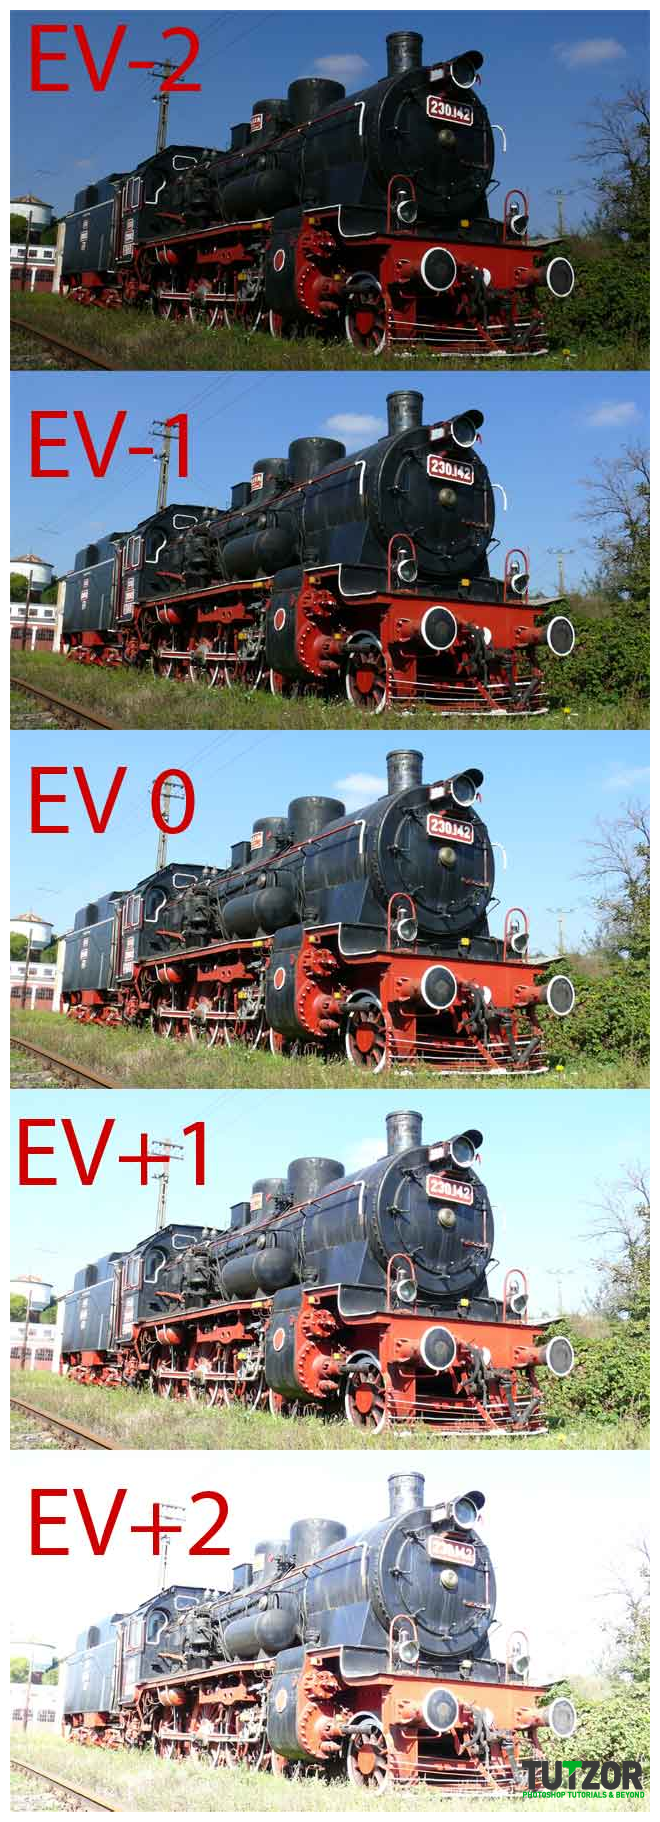 cosmin
 cosmin
 cosmin
 cosmin
 cosmin
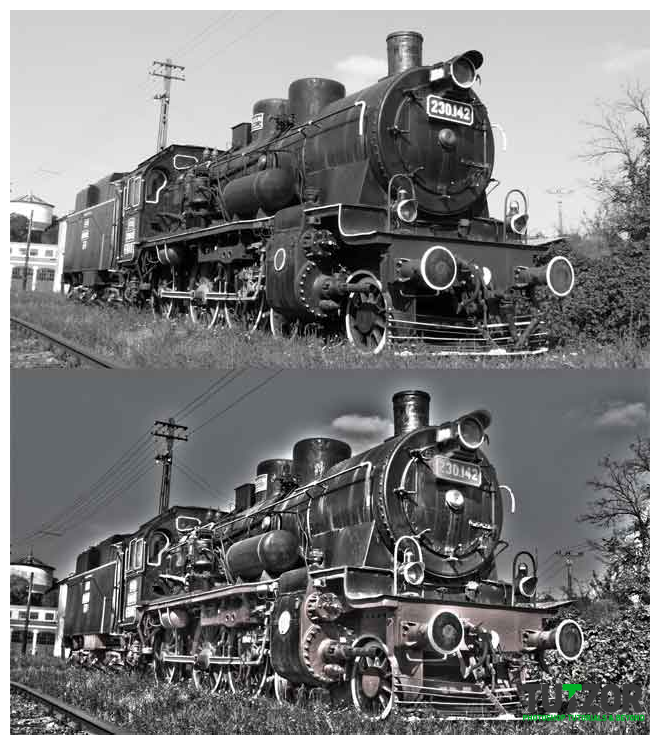 cosmin
 cosmin
 cosmin
 cosmin
 cosmin
 cosmin
 cosmin
 cosmin
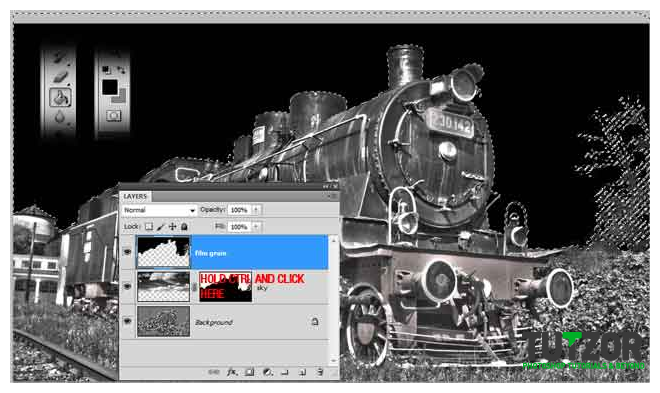 cosmin
 cosmin
 cosmin
 cosmin
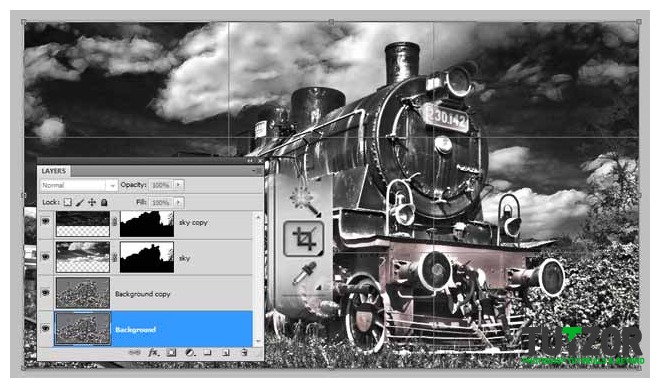 cosmin
 cosmin
 cosmin
 cosmin
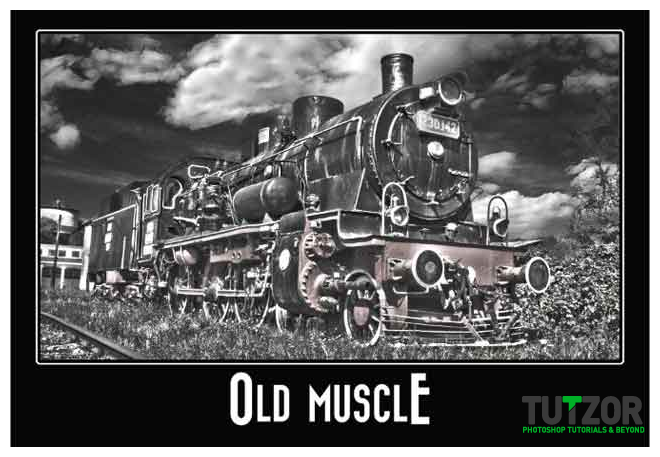 cosmin
 cosmin
 cosmin
Copyright© 2012 Tutzor All Rights Reserved | Developed by: Iceous Design