 Cpotorac
This tutorial will be a little different than all the other tutorials I wrote. Here I will teach you some basic things about Photomanipulation.
Cpotorac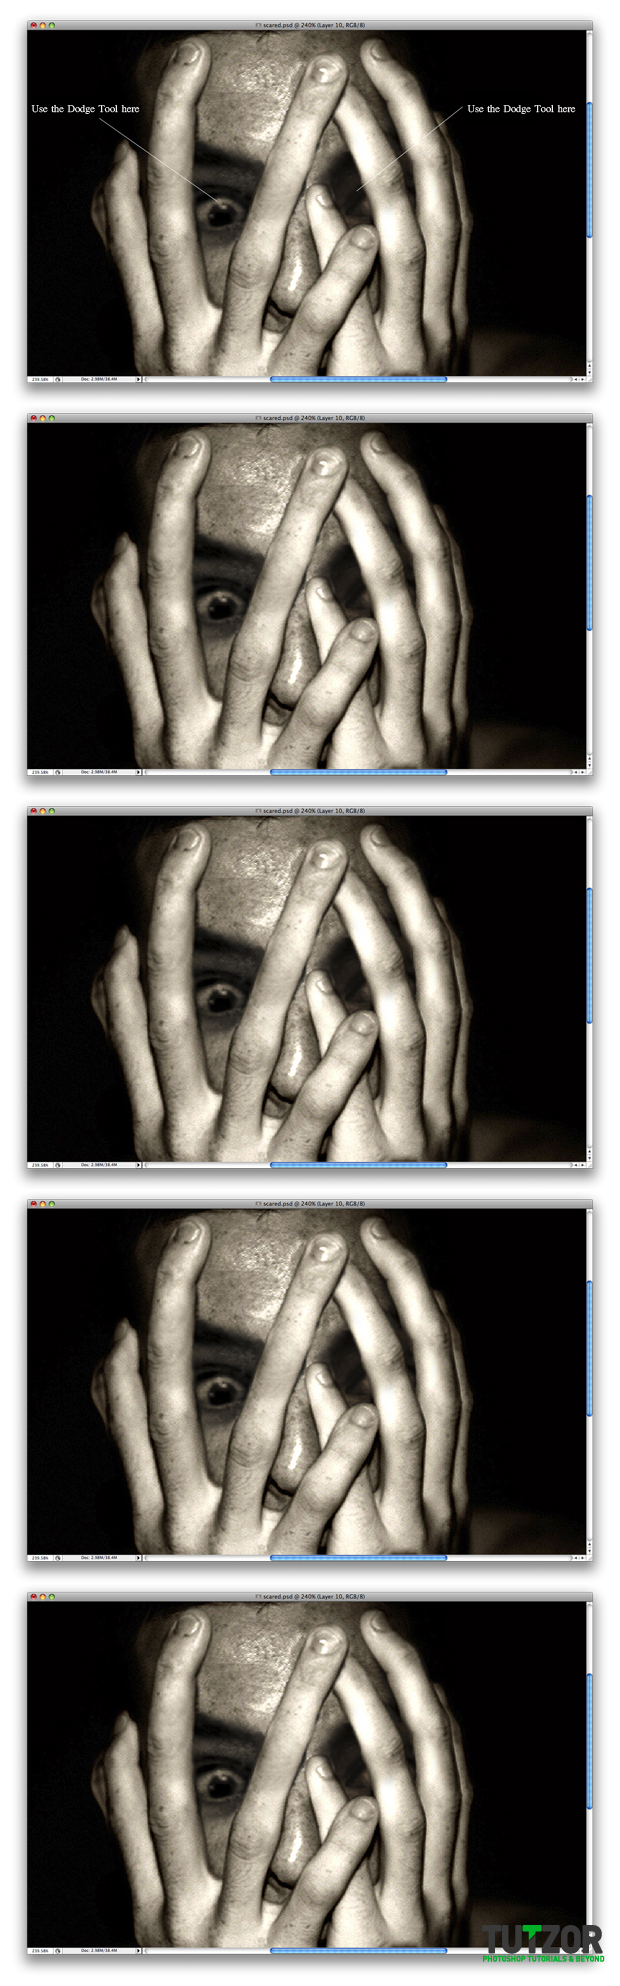 Cpotorac
 Cpotorac
Copyright© 2012 Tutzor All Rights Reserved | Developed by: Iceous Design