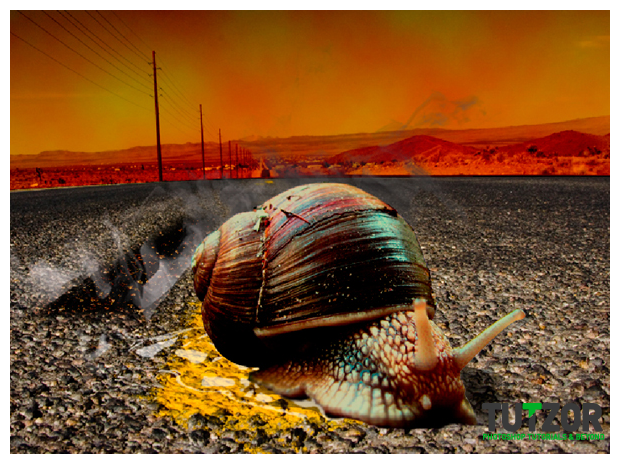
Snail race photo montage - PART 1
22
Aug'10
 Cpotorac
Member since:
Aug 2010
Step
01
 Cpotorac
Member since:
Aug 2010
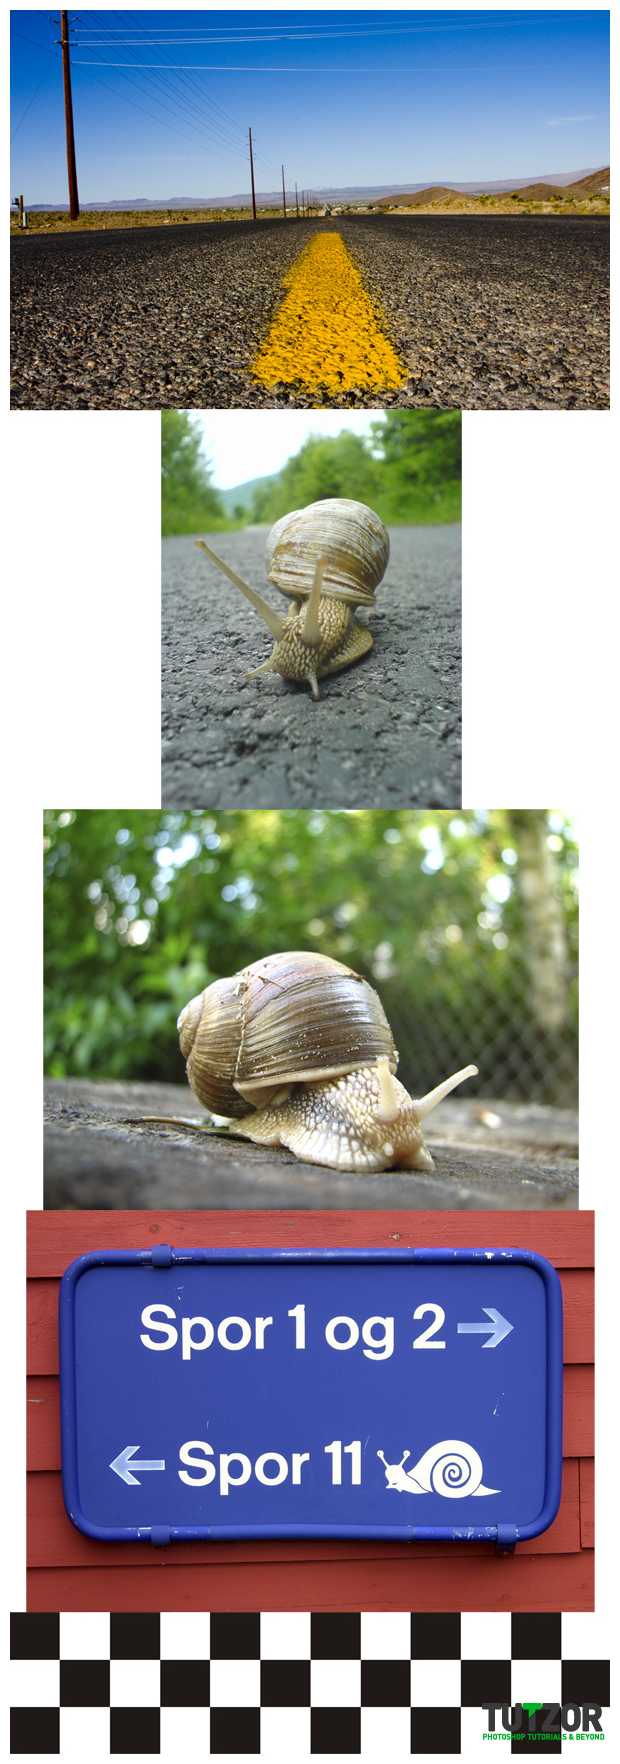
First of all I need you to look at the stock we will use for this tutorial. Also you will see there an image that I have created “finish” image.
Here are the links:
http://www.sxc.hu/photo/1026758
http://www.sxc.hu/photo/1012586
http://www.sxc.hu/photo/788012
http://www.sxc.hu/photo/1011828

Step
02
 Cpotorac
Member since:
Aug 2010
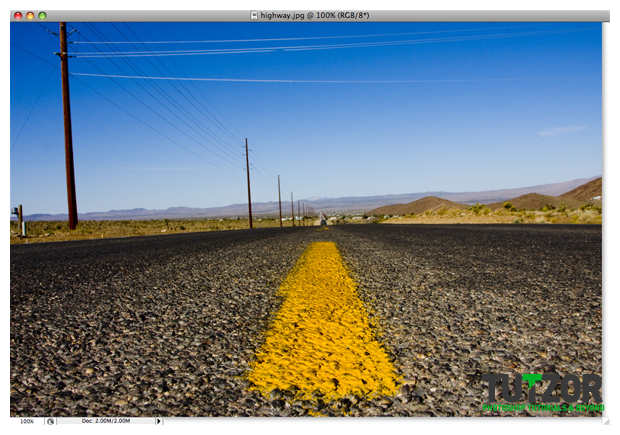
First open up the highway image.

Step
03
 Cpotorac
Member since:
Aug 2010
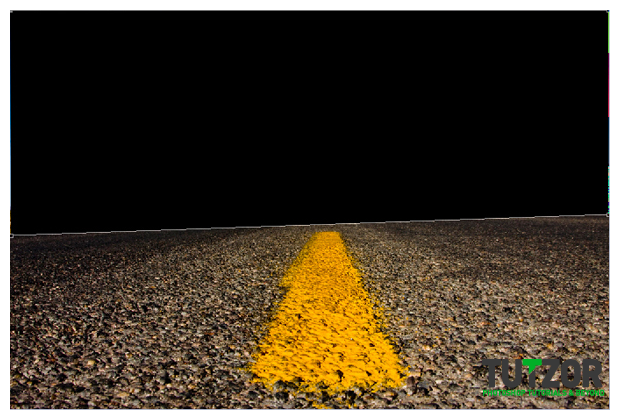
The first thing we’re going to do is change the light of the sky to heat up the atmosphere. In order to start editing we must make the background layer editable.
Using the pen tool make a shape of the sky as I did.

Step
04
 Cpotorac
Member since:
Aug 2010
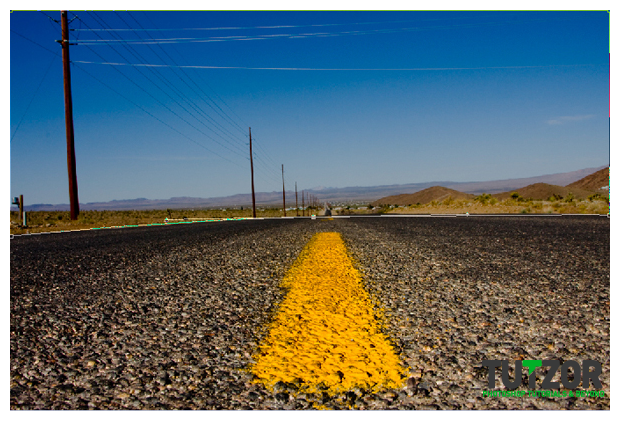
Set the opacity of the layer to about 25% so you can see the line of the road. Then, using the add anchor point tool, make the shape to match the road.

Step
05
 Cpotorac
Member since:
Aug 2010
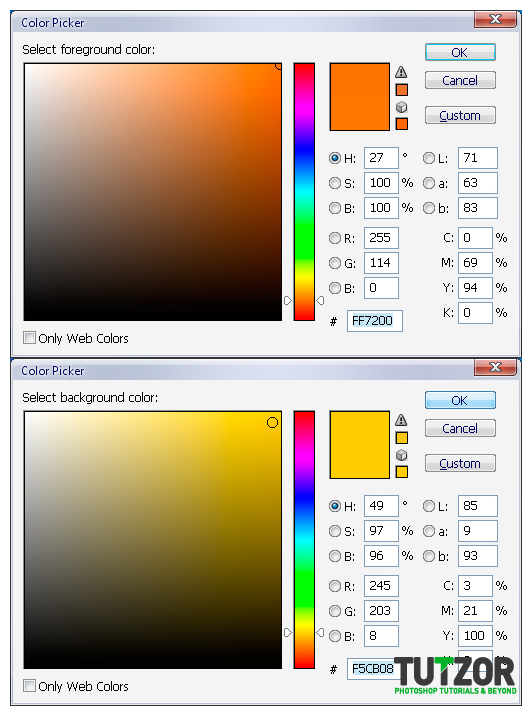
Set the foreground color to #FF7200 and the background color to #F5CB08.

Step
06
 Cpotorac
Member since:
Aug 2010
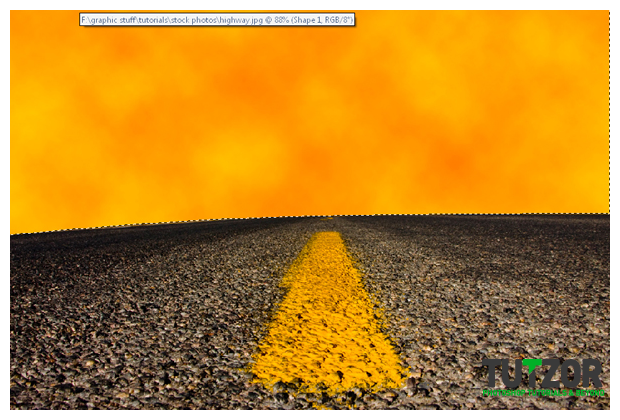
Now go to Filter -> Render -> Clouds. Click yes when asked to resterize the layer. Change the Opacity back to 100%. The result should look something like this:

Step
07
 Cpotorac
Member since:
Aug 2010
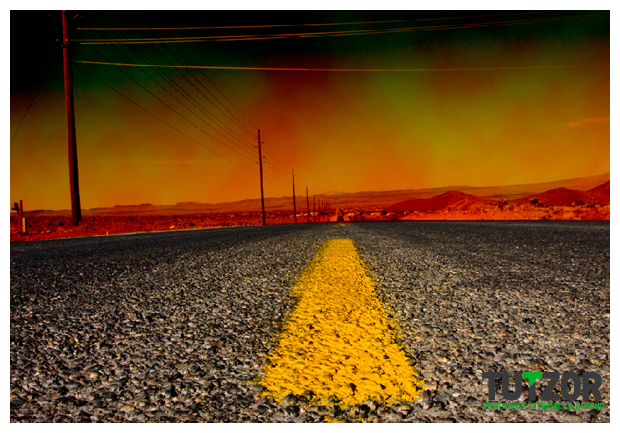
Change the blending mode of Shape 1 to linear burn and then rename the layer “sky”.

Step
08
 Cpotorac
Member since:
Aug 2010
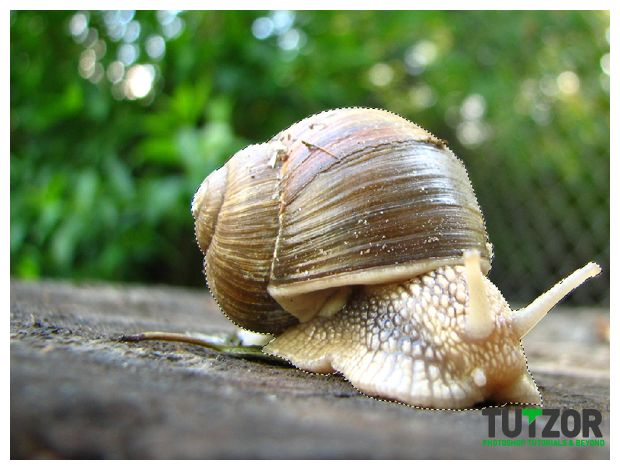
Open the image snail1.jpg and make a path of it using the Pen Tool than Ctrl + Enter to select it.

Step
09
 Cpotorac
Member since:
Aug 2010
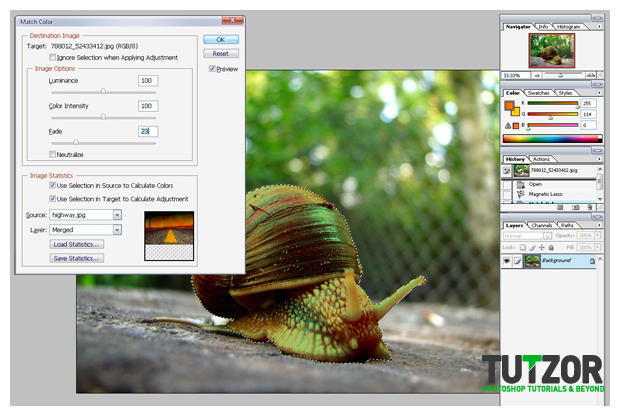
You can see that the snail has a different light than the road, and we need to adjust it. We do that by using the Match color option. Set the luminance and color intensity to 100 and fate to 23. On the source select highway.jpg (make sure it is open), and on the layer dropdown select merged.

Step
10
 Cpotorac
Member since:
Aug 2010
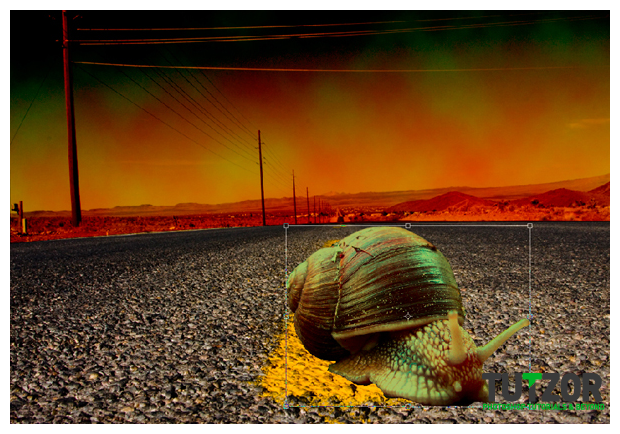
Now copy the selection of the snail by pressing Ctrl+C and paste it in the document we are working with the highway. Because the selection is very large we need to resize it. Do that by pressing Ctrl+T (Free transform tool). Make sure you press the Shift key when resizing to keep the proportions.
Resize it to a size similar to the one in the picture below and arrange it in the same way.

Step
11
 Cpotorac
Member since:
Aug 2010
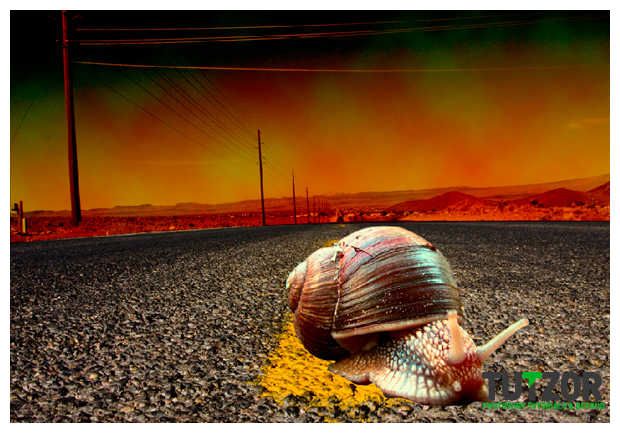
You can see that the snail looks not that good than should be. Adjust this by using the Auto levels option (Image -> Adjustments -> Auto levels) or play with the levels yourself.

Step
12
 Cpotorac
Member since:
Aug 2010
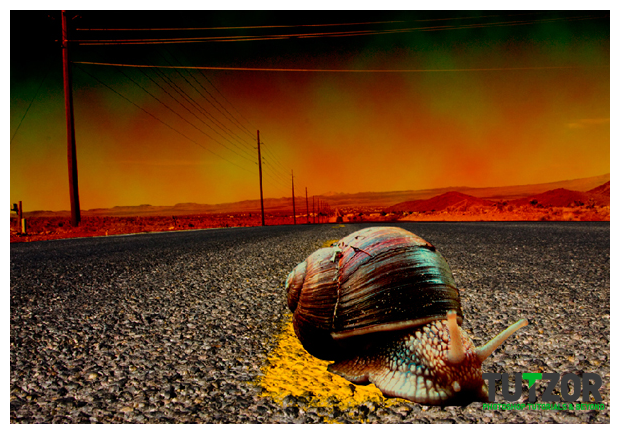
Now go to Image -> Adjustments -> Brightness/Contrast and set the brightness to -50%.

Step
13
 Cpotorac
Member since:
Aug 2010
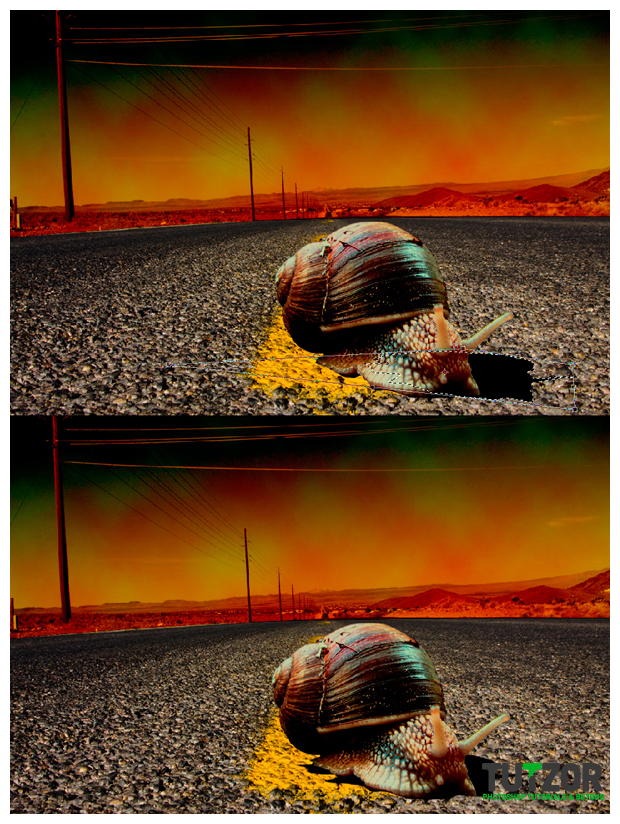
Now we need to put some shadow to the snail. Rename layer 1 to snail1. Select layer transparency and duplicate layer. Press D on the keyboard to switch to default colors then fill the selection with black. Move this layer below snail1.
Press Ctrl+T for Free Transform tool then right click the snail and select distort.
And Rename the layer to shadow.

Step
14
 Cpotorac
Member since:
Aug 2010
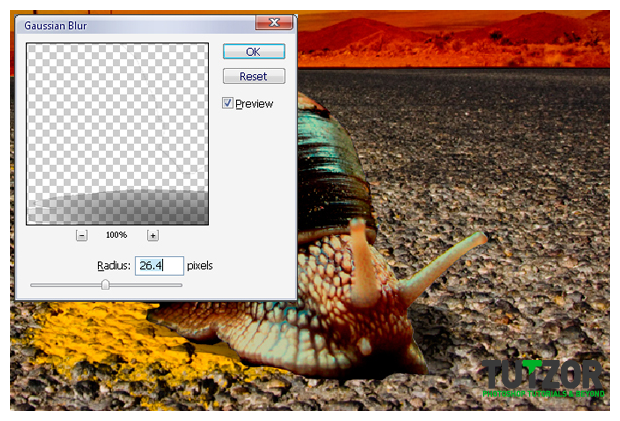
Make sure you still have selected the layer transparency and go to Filter -> Blur -> Gaussian Blur and use my settings.

Step
15
 Cpotorac
Member since:
Aug 2010
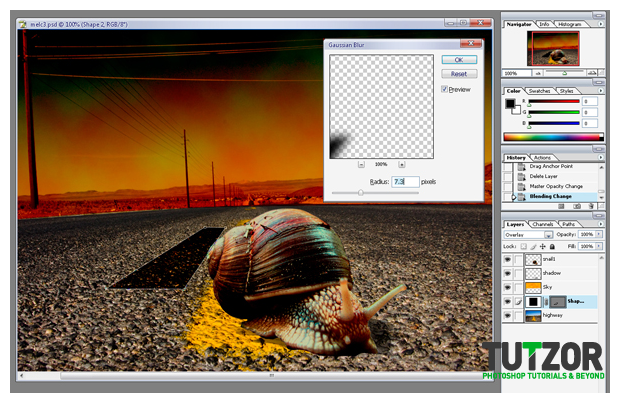
Now lets create a brake tail. Using the pen tool create a shape similar to the one in the image below.
Than change the Blending mode to Overlay, then apply the Gaussian Blur to a 7.3 px.

Step
16
 Cpotorac
Member since:
Aug 2010
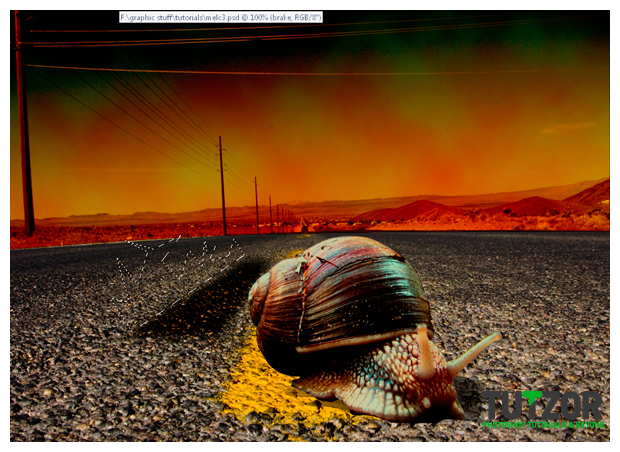
Next we need to create some smoke rising up from the brake. First make a selection using polygonal lasso tool along the brake tail similar to the one in the image below.

Step
17
 Cpotorac
Member since:
Aug 2010
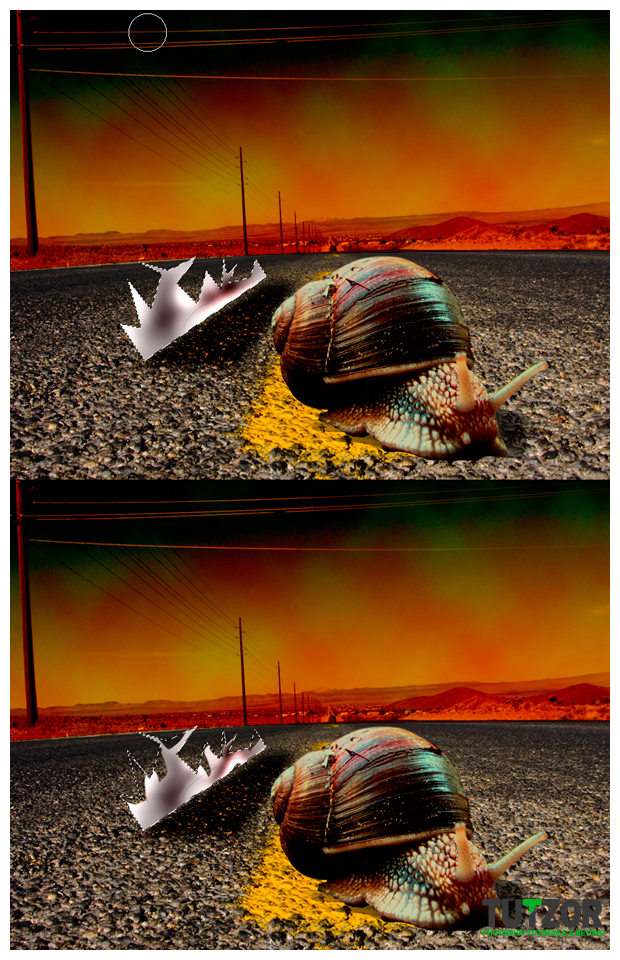
Then fill the selection with ABA4A4. Use the dodge tool around the corners with the brush size set to 50, and Range highlights.
After that switch to burn tool with the same brush size and range set to shadows and you should get something like this:

Step
18
 Cpotorac
Member since:
Aug 2010
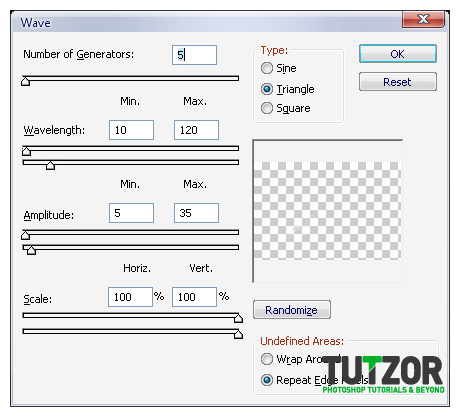
Then go to Filter -> Distort -> Wave, and Edit -> Fade wave to 50%.

Step
19
 Cpotorac
Member since:
Aug 2010
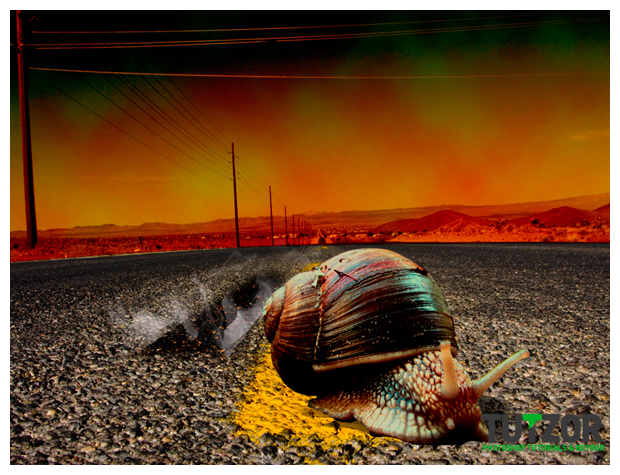
Repeat this (Wave, fade wave step) until you are satisfied with the result. Then use the free transform tool if necessary and adjust the smoke along the brake tail. Duplicate the layer.

Step
20
 Cpotorac
Member since:
Aug 2010
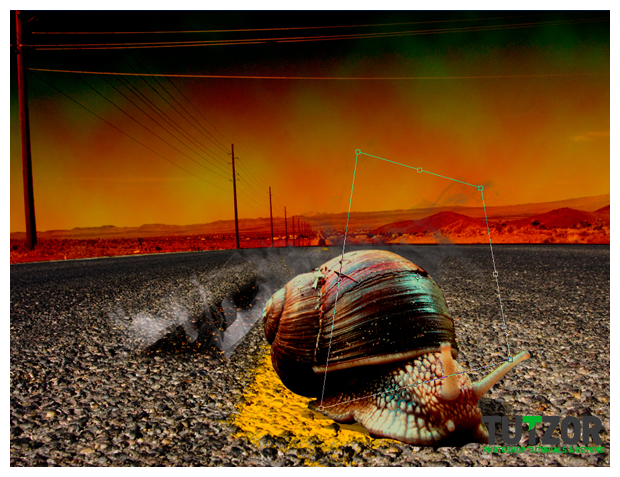
To add the smoke behind the snail, just copy the smoke along the tail, fill it with black and play with free transform tool until you get something like the image below.

Step
21
 Cpotorac
Member since:
Aug 2010
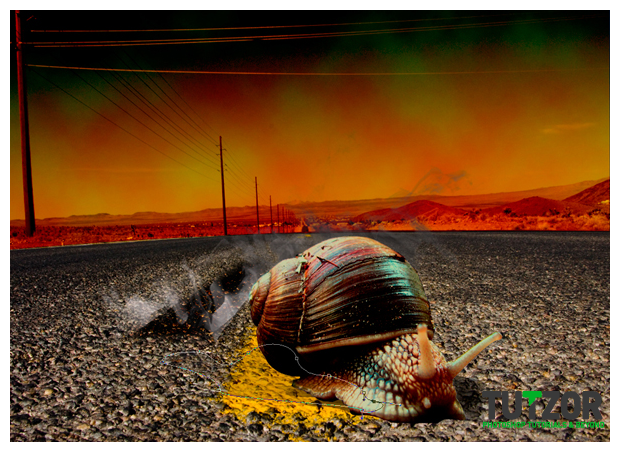
Now it’s time to make the Slime trail left by the snail. Using the pen tool draw a shape similar to the one in the image below.

Step
22
 Cpotorac
Member since:
Aug 2010
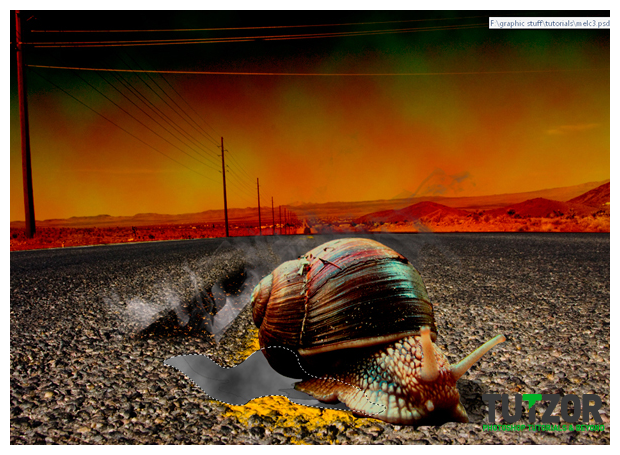
Press D to set the default colors. Then apply the clouds filter on the selection.

Step
23
 Cpotorac
Member since:
Aug 2010
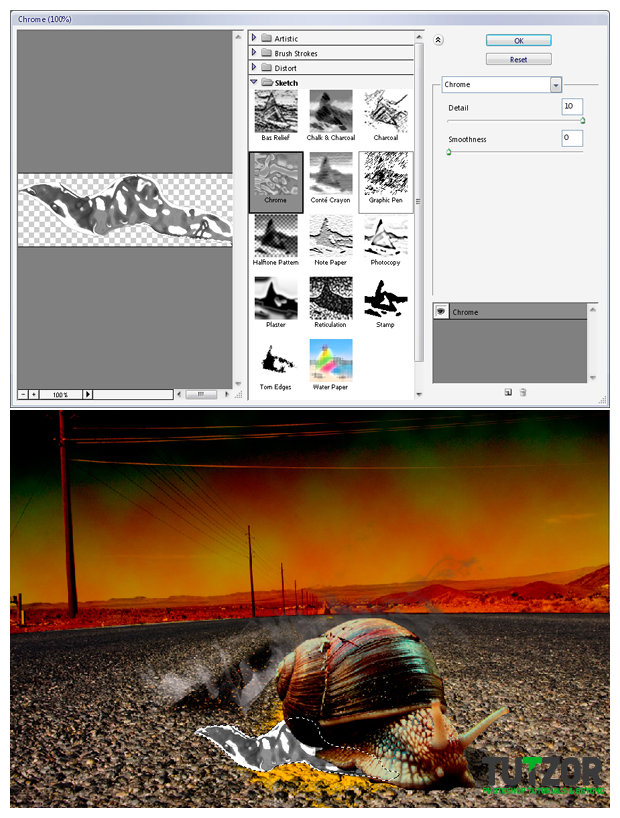
After that apply the chrome filter. Go to Filter -> Sketch -> Chrome.

Step
24
 Cpotorac
Member since:
Aug 2010
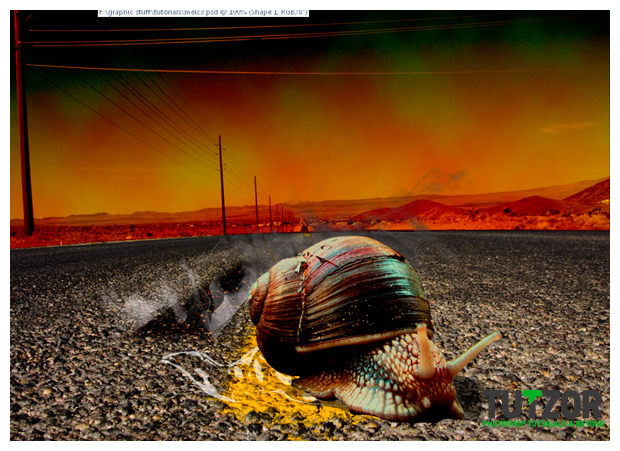
Set the blending mode to Hard Light, and the Opacity to 60%.

Step
25
 Cpotorac
Member since:
Aug 2010
Use the free transform tool to arrange the slime in a realistic way. Load the selection and using the blur tool, blur a little bit around the edges to blend the slime into the road.
Select the snail and blur a little bit on its lower part just above the slime.




Comments
Amazing Tutorial
Thanks very much for this amazing photoshop tutorial.
awesome!
awesome!
the end result looks sweet!
:]