Snail race photo montage - PART 2
22
Aug'10
 Cpotorac
Member since:
Aug 2010
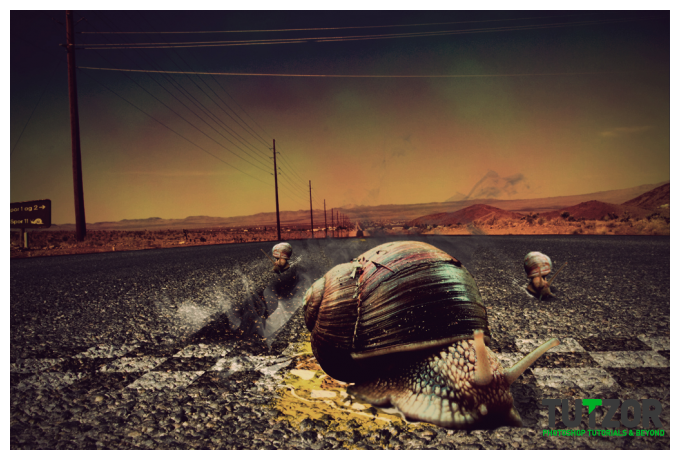
Hi there guys. I have prepared a new tutorial. In this tutorial we will be learning some more photomanipulation but this time different than the first one I did.
Final Image
Step
26
 Cpotorac
Member since:
Aug 2010
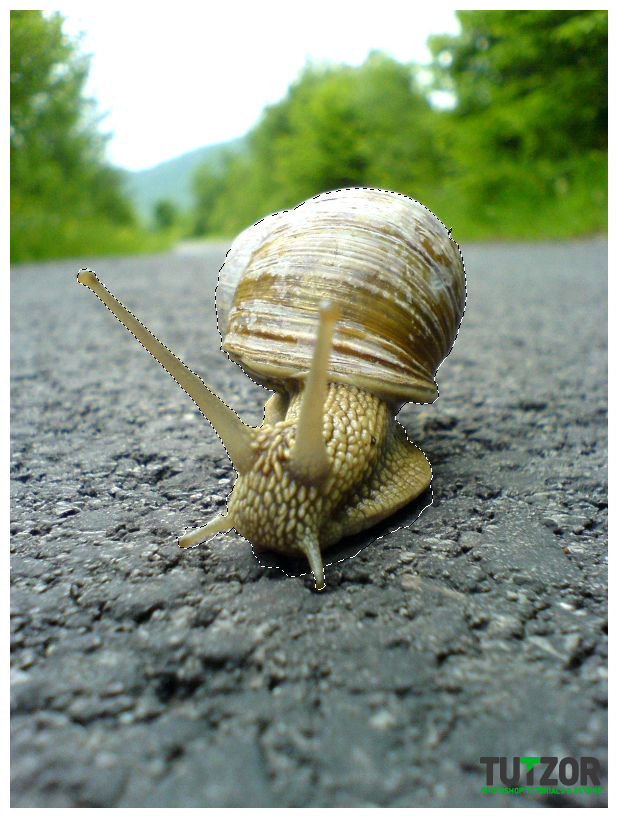
Now it’s time to add the other racers to the scene.
Open Snail 2. Select the snail with the Pen Tool.

Step
27
 Cpotorac
Member since:
Aug 2010
Match the color with the other document, just as you did with the first snail.
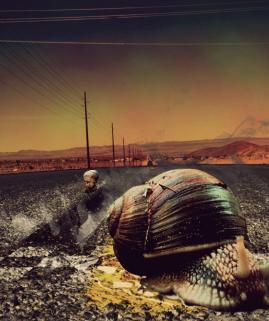
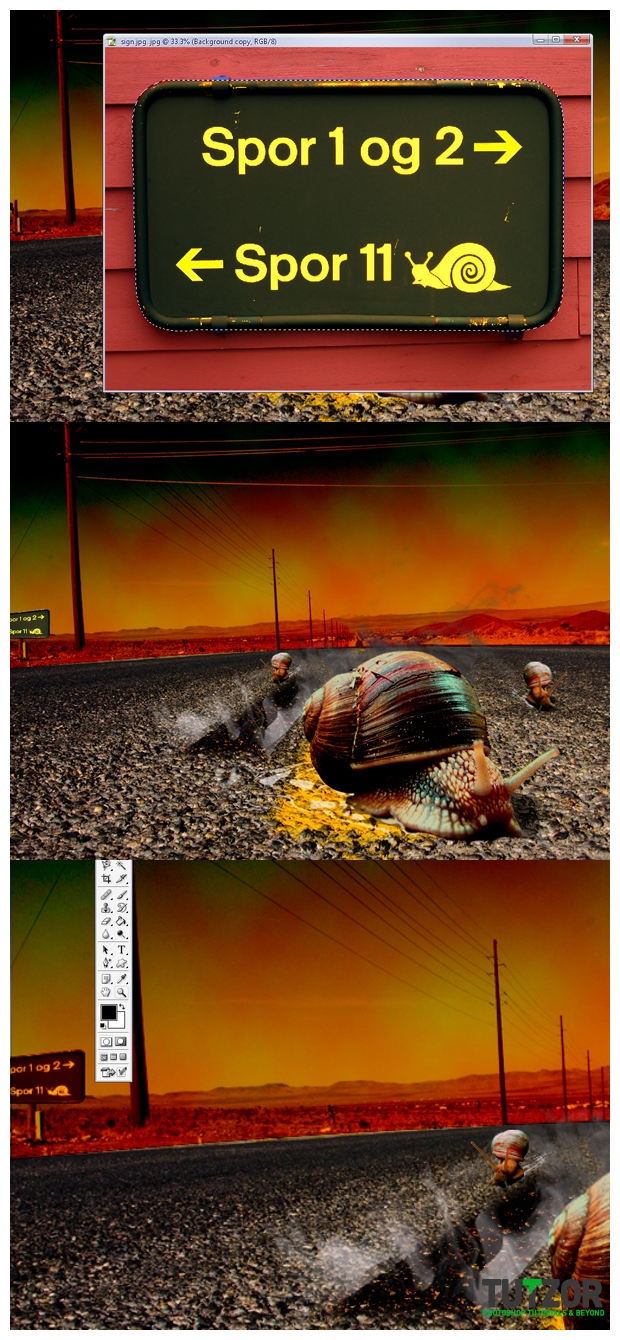
Paste the snail into the document and resize it using free transform tool. Place the third snail similar to the image below.
Also duplicate the slime layer and move it behind each snail. Then, using free transform tool distort the slime and shape it as you like. Last you need to add shadows, blur and light to the slime to make it look different and more realistic. Do this using the burn, dodge and brush tools.


Step
28
 Cpotorac
Member since:
Aug 2010
Next open sign.jpg.
Make a selection of the sign, and use match color with the document you are working with. Copy paste the selection into the document, resize it and place it on the middle left part of the image, just above the smaller column, then use the free transform.
Rename the layer to sign, move it under the layer sky and apply a 0.3 Gaussian Blur on it. The result should be similar to the one in the image below.

Step
29
 Cpotorac
Member since:
Aug 2010
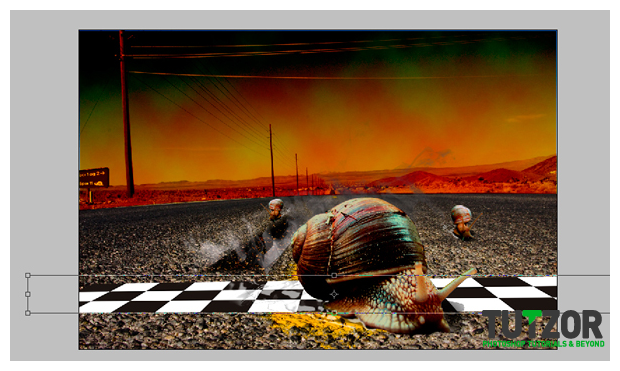
Now all we need to do is add the finish line.
I have created an image using adobe illustrator and called finish line.jpg. This image could also be easily created simply in Photoshop just by using some shapes and guidelines.
What you need to do with this image is to import it into the document, transform it and place it as I did in the image below.

Step
30
 Cpotorac
Member since:
Aug 2010
Set the Blending Mode of the Finish line to Soft Light and you are done.
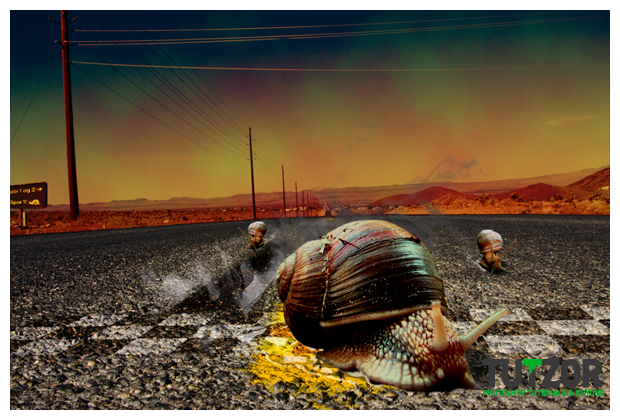

Step
31
 Cpotorac
Member since:
Aug 2010
In the end add your favorite light, colors or vintage effects and you are finished.
