Turning an image into a traditional campaign poster style using Photoshop and Illustrator
03
May'12
Member since:
Feb 2012
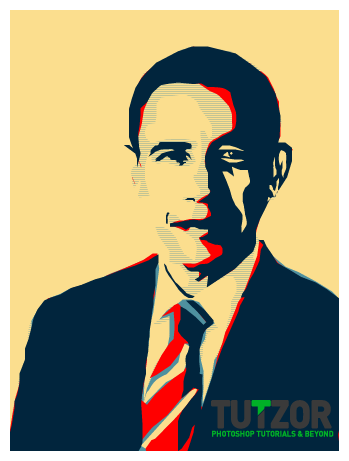
There are actually many different ways to design a traditional campaign poster for an election. In this tutorial, we will teach you how to turn an image and convert it to an inspirational graphic worthy for campaign posters, brochures, booklets and other print media. Just follow the different steps below and you will see how you can create your own styled election poster just like the professionals do it.
Final Image

Step
01
Member since:
Feb 2012
There are actually many different ways to design a traditional campaign poster for an election. In this tutorial, we will teach you how to turn an image and convert it to an inspirational graphic worthy for campaign posters, brochures, booklets and other print media. Just follow the different steps below and you will see how you can create your own styled election poster just like the professionals do it.
1. First we prepare our image. In our example, we are going to use a public domain picture of the president. Luckily, his head and body can easily be extracted and the background removed through the magnetic lasso tool. Simply trace in his head and body in Photoshop and then copy-paste it into a new layer.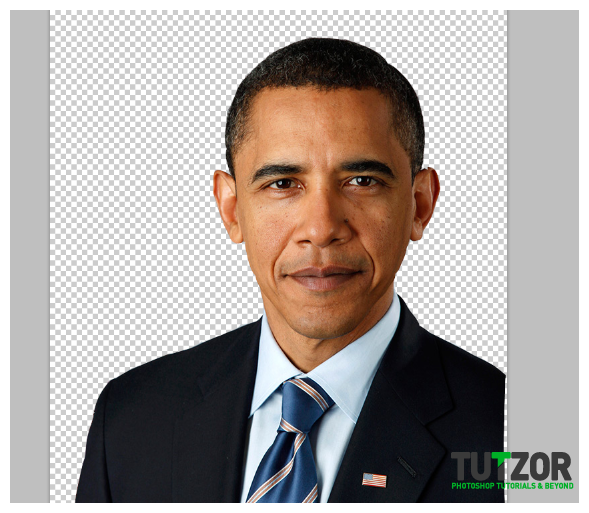
1. First we prepare our image. In our example, we are going to use a public domain picture of the president. Luckily, his head and body can easily be extracted and the background removed through the magnetic lasso tool. Simply trace in his head and body in Photoshop and then copy-paste it into a new layer.

Step
02
Member since:
Feb 2012
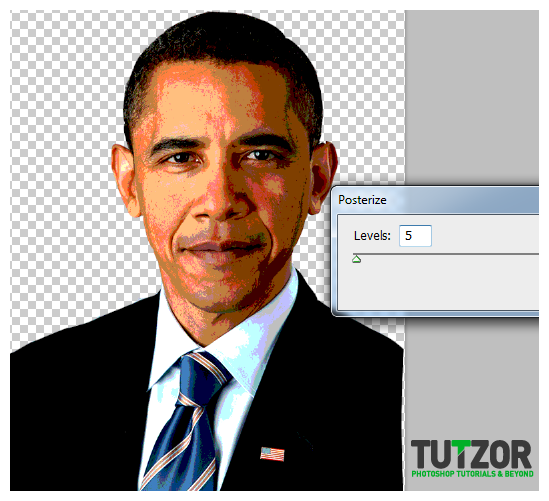
2. Initially, we want to posterize the layer. First remember to use copy a backup of our original cut out image for use layer. Now, with the main duplicate selected, go to Image -> Adjustments -> Posterize. Adjust the values as necessary for posterization, but for us, we are going to use a value of 5.

Step
03
Member since:
Feb 2012
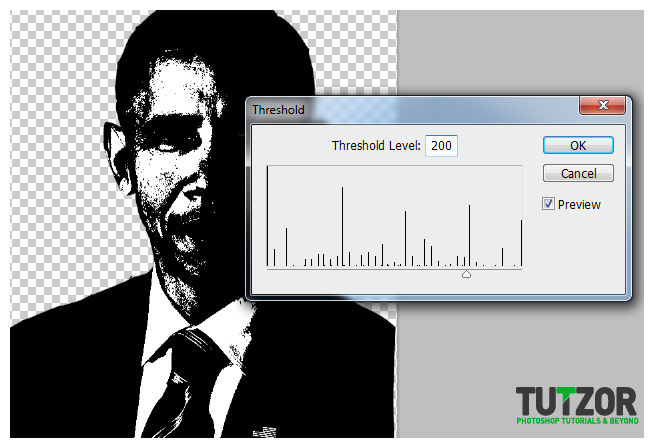
3. Now, duplicate your posterized layer, we will use that as a source later. We will now create several threshold effects to get a better effect of posterization. With the duplicate image selected go to Image -> Adjustments -> Threshold. Adjust the slider so that you get something dark almost covering the face, without compromising some of its main features though.

Step
04
Member since:
Feb 2012
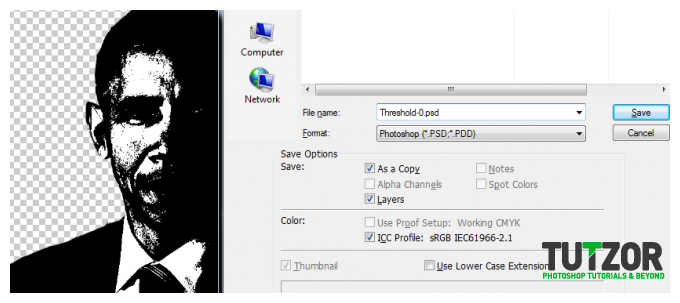
4. Once done, save this initial threshold change as your threshold-0.psd or something similar. You will want to know that this is the darkest one we created.

Step
05
Member since:
Feb 2012
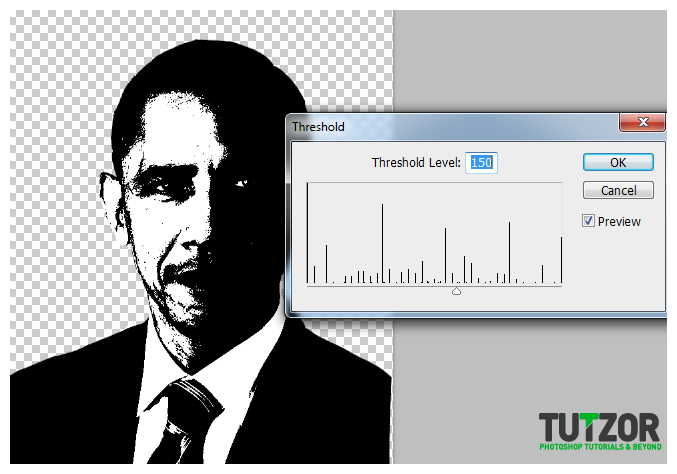
5. Next, create a duplicate of our initial posterized layer again. Do the same thing as with the previous step of applying the threshold, this time though reduce value a bit to reveal more of the face. Save this as threshold 1 or something similar.

Step
06
Member since:
Feb 2012
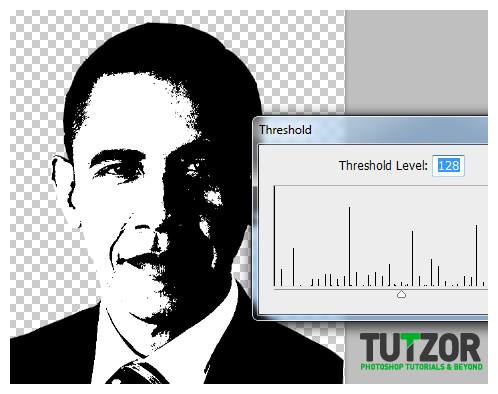
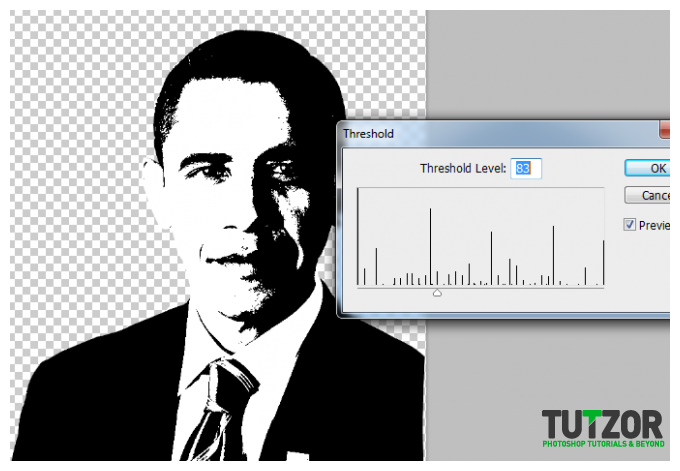
6. Now, repeat the process 2 more times, each applying a lighter threshold. Do not forget to save each one as you go along.


Step
07
Member since:
Feb 2012
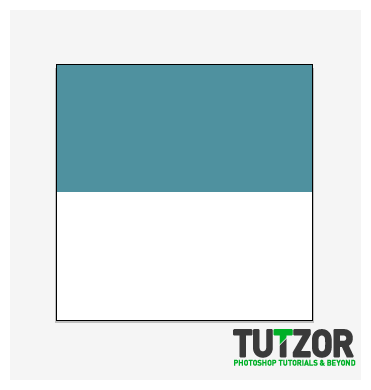
7. Now we have the main elements to create our traces. Before we start, we must create a new pattern. Open up your illustrator and then create a new document that is 4x4 pixels. Use the rectangle tool to cover the top half part of our canvass square with a blue color.

Step
08
Member since:
Feb 2012
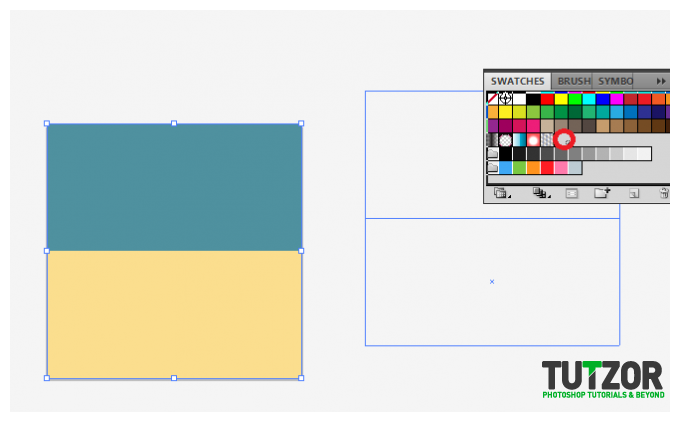
8. Next, fill the bottom half with a beige rectangle. Then select both shapes and drag them into the swatches panel. This saves our rectangles as a pattern.

Step
09
Member since:
Feb 2012
9. Now, add in the following colors to the swatch panel. This will help you a lot later as we start coloring. Once done save these swatches in a swatch group of your choice.
a. Light blue: F4919F
b. Blue: 01253D
c. Beige: FBDE8E
d. Red: E7000A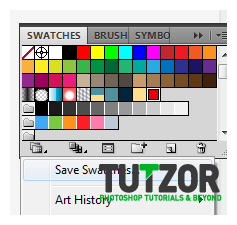
a. Light blue: F4919F
b. Blue: 01253D
c. Beige: FBDE8E
d. Red: E7000A

Step
10
Member since:
Feb 2012
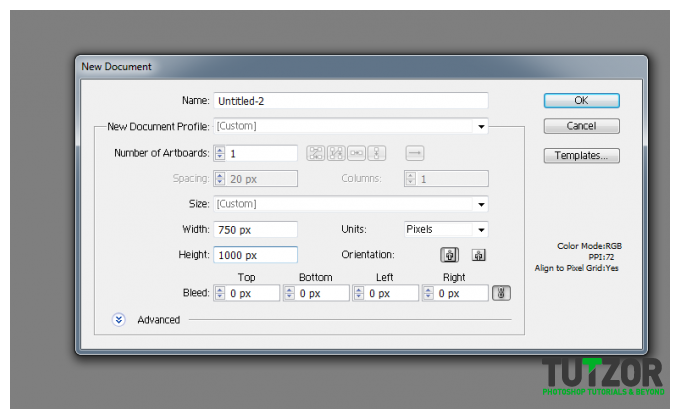
10. Now close this small document in illustrator. Create a new one in poster size. For this example we are going to use 750x1000 as our dimension.

Step
11
Member since:
Feb 2012
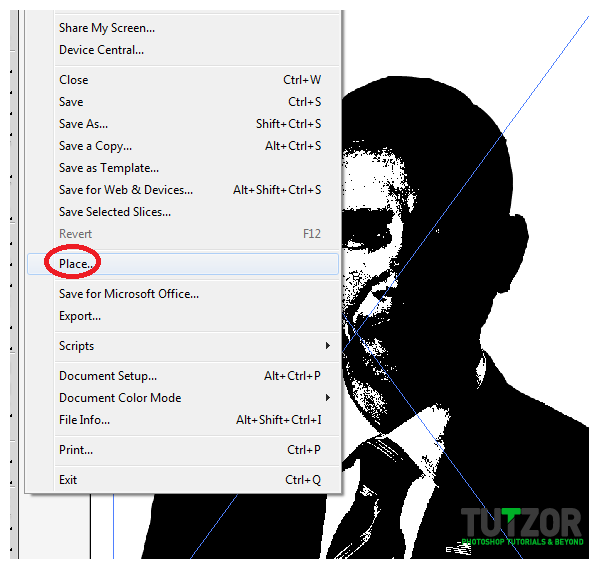
11. Now, go to File -> Place… Then choose the darkest threshold file that we created earlier. In our example that was threshold-0.

Step
12
Member since:
Feb 2012
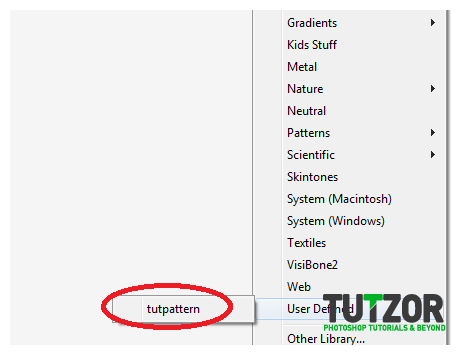
12. Good! Now before we start tracing this darkest element, load up the custom swatch that we created. Just go to the swatches panel, then click on the swatches library icon drop down menu. Go to the User Defined and of course click on our swatch group that we created earlier.

Step
13
Member since:
Feb 2012
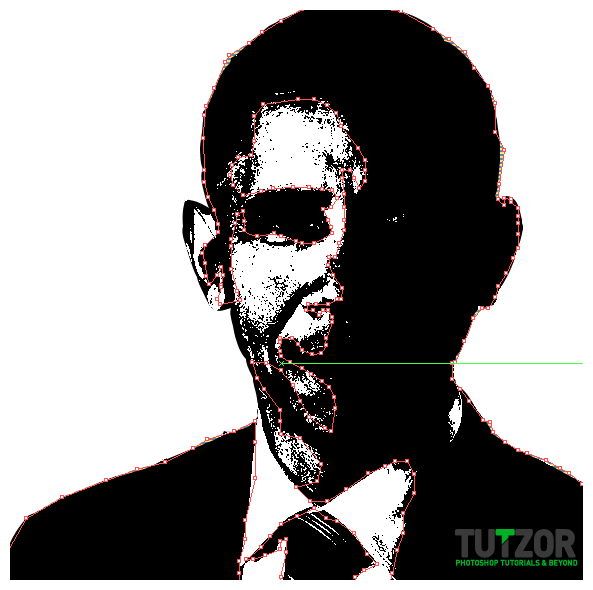
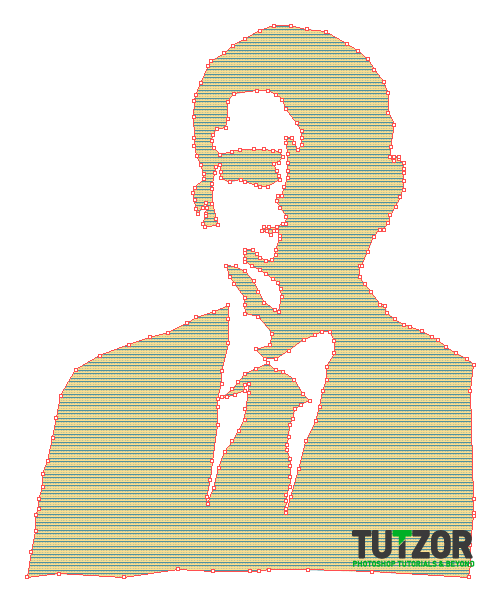
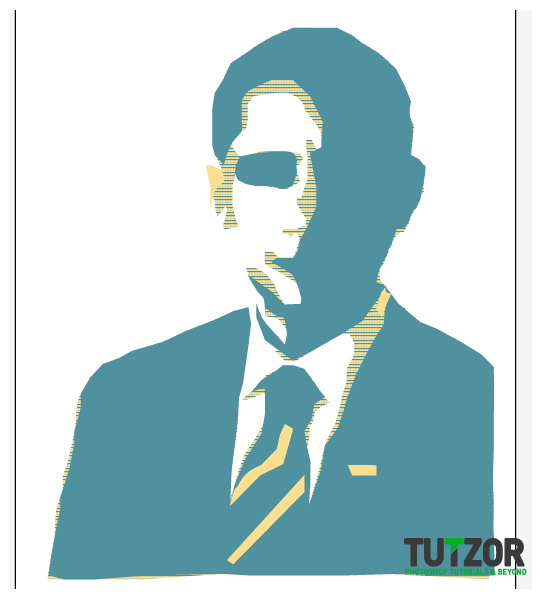
13. Great. Now, create a new layer below the threshold layer we just pasted in. It is here that we will create our tracing pattern. Now, using the pen tool, trace all the big dark areas of the pasted in layer. It will take a while to do this.

Step
14
Member since:
Feb 2012
14. In the end, you will get something like this:

Step
15
Member since:
Feb 2012
15. If you glossed over some of the white areas initially, create a new layer and then use the pen tool co trace in those lost white areas with a beige color.


Step
16
Member since:
Feb 2012
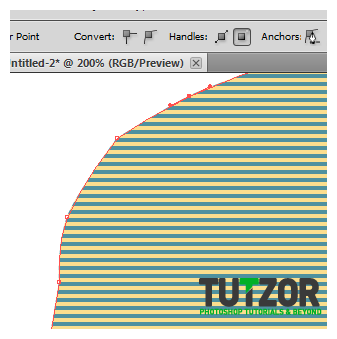
16. Now, if you think your initial tracing for these is a bit rough, remember that you can smoothen out those anchor points when needed. Just use the direct selection tool and covert those anchor points to more curved points. Use the handles that appear when you select the anchor points to smoothen things out.

Step
17
Member since:
Feb 2012
17. Next, load up the next threshold layer and then trace the darkest areas once again. Use the light blue color for now. Smooth it up as needed.

Step
18
Member since:
Feb 2012
18. Then, just load up the next two layers in succession. Use red first, and then blue. Just trace the darkest areas out and smoothen things when you need to. In the end, you should have something like this:


Step
19
Member since:
Feb 2012
19. Now just put in a beige color rectangle behind your graphic to complete our work. Congratulations!
